Sound city Reading Blog |
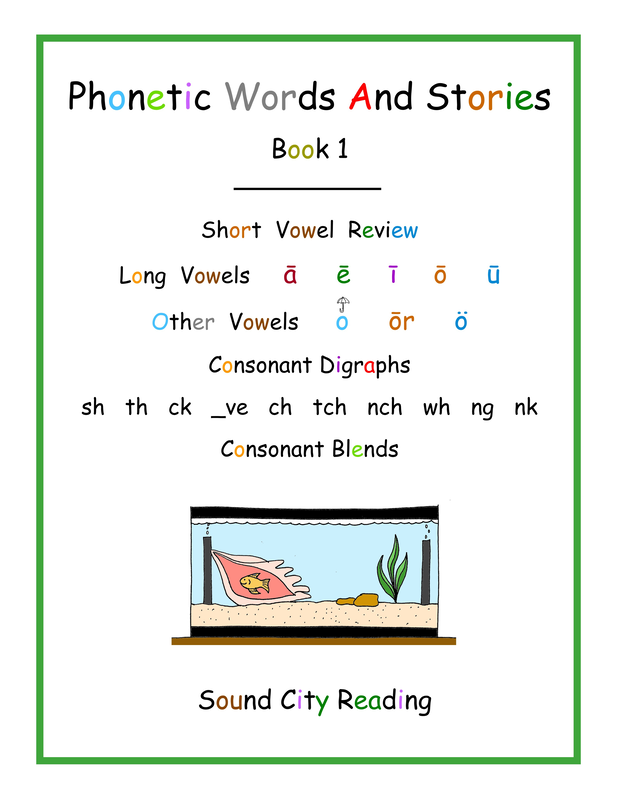
Revised Phonetic Words And Stories, Book 1I'm working on a revision of Phonetic Words And Stories, Book 1. The phonetic patterns taught and the phonetic sequence, for the most part, will remain the same.
I recently received a message via the survey on this website that someone is not able to download the PDF files he or she wants because of their large size. I apologize for this enormous frustration. I know quite of few of the PDF files are very large because they have many, many pictures in a single book or single set of charts.
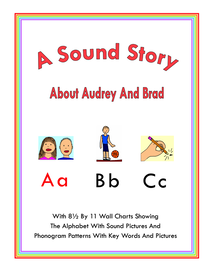
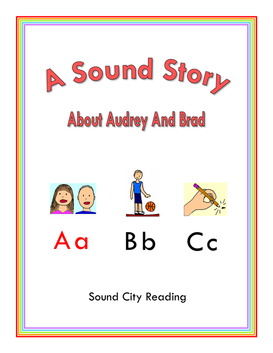
There are several types of files that I use. I compose my materials in Microsoft Publisher. When finished, I save a copy of the Microsoft Publisher file as a PDF file. I also work with various image files. Most of my images are in a tiff, png, or jpeg format. I decided to play with one of my larger files to see if I could make it smaller, so that it could be downloaded more quickly. This is what I discovered. I can make a Microsoft Publisher file or a file folder with a set of pictures smaller by compressing it. This often makes it possible to reduce the size of the file enough to email it within the usual size limits. In my experience, when sending a folder with individual picture files online it is very worthwhile to compress the folder first. The file size will be much smaller. The user will need to extract the images in the file after receiving it, which is easily done. I tried compressing a Microsoft Publisher file, thinking that might be helpful for visitors to this site to speed up the downloads. But I discovered that there was no way to convert the compressed file to a PDF file. This would be necessary, since many people don't have the Microsoft Publisher program and wouldn't be able to open it in that format. I also found that if you compare a compressed Publisher file to a PDF file created from the same original file, the PDF file is much smaller than the compressed file. So making a compressed Publisher file available instead of a PDF file would not be advantageous. It is possible to make the PDF files themselves smaller. To do so, I would have to change the specifications when I create the PDF files. As I thought about this, I remembered that I printed many test pages from PDF files when I first started putting my materials together. I tried printing with a variety of settings. I found that adjusting one of the settings to 600 dpi made the pages easy to read, with sharp, crisp lettering and clear line drawings. This is true if the pages are printed, viewed on a computer screen, or displayed on a projector. It is very important to me to use this setting so that students would always be able to see the words and pictures clearly. So in order to meet this standard, I cannot make the PDF files any smaller, to my knowledge. It does appear that I could subscribe to a paid service to reduce the size of PDF files. I'm not sure what the quality of the files would be after conversion. And I'm afraid that spending more money above the cost of this Weebly website and the Vimeo charges for supplying the videos is not something that I can do. If you are trying to download PDF files from this site without success, you might first try using a different browser. Be sure that you're waiting several minutes for each file to download. If that doesn't work, the easiest remedy would be to use a newer, faster computer and a faster connection to the internet. However, I know that this is not possible for many individuals. If you are not able to download the files you want, please email me at kathjdavis@gmail.com. If you are willing to use a file that will not have as much sharp detail as the regular files, I will try to make the file smaller for you. This will be time consuming, so I can't do this for every file on the site. But if there are specific files you need at this time, let me know and I will try to get them ready for you. If you are familiar with technology that would solve this problem, I would appreciate hearing from you. Kathryn Davis  There are many elements in the Sound City Reading program that work together to help students learn to read and write. In this post I will talk about A Sound Story About Audrey And Brad. It is available as a separate book with large print and large color pictures. It is also included as a smaller version in the student books.
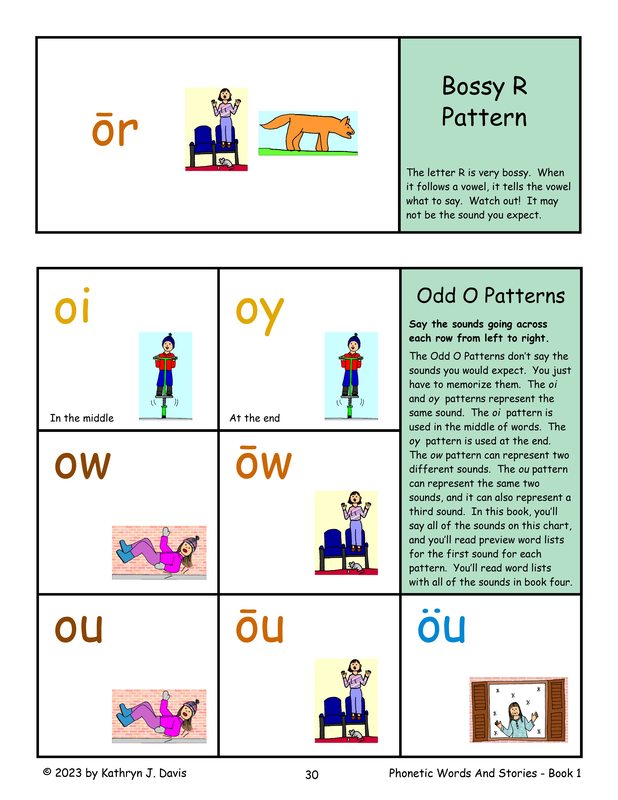
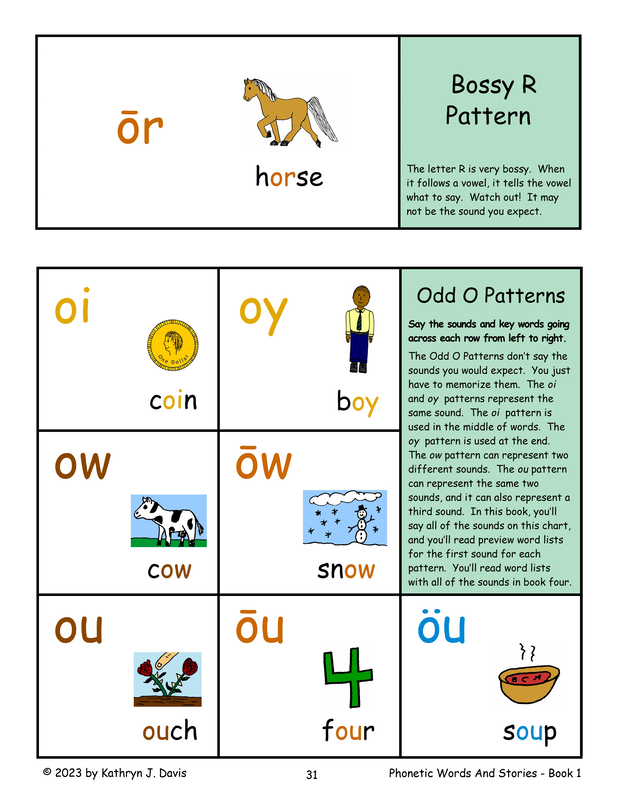
In these patterns, you do not say the individual letter sounds. You pronounce just one, completely new sound for each of the letter patterns. The sound story also includes alternate sounds for the single vowels: a/raven, a/all, e/begin, o/robot, o/to, u/music, and u/push. When To Use The Sound Story
The sound story is used with students at all reading levels. The pictures in the story serve as a reference point when teaching the many phonetic patterns in the English language. What Teachers And Parents Need To KnowHere are some things to know about using the sound story.
 I have added a new survey to allow anyone who has used the Sound City Reading program to share their experiences with visitors to this website. I believe that these entries will be very helpful to individuals who are looking for instructional materials to teach reading but aren't sure whether or not the Sound City Reading materials will work for them. I've received many e-mails over the years from people all over the world who have used Sound City Reading materials with success. If you have a story to tell about these materials, I hope you will share it. Look under the BLOG menu heading and go to Share Your Experience. You may fill out the entry form, or if you prefer, e-mail your information directly to me at kathjdavis@gmail.com. I will post them on a designated page on this site for others to see. Thank you in advance if you choose to participate. All entries will be greatly appreciated. Before talking about sight words, I want to mention that reading aloud to students for fun is the very best thing you can do while you are also teaching the reading skills from this program. As I'm sure you already know, reading aloud to students is an essential part of any reading program, at all levels. It builds comprehension skills and vocabulary, and because it's so enjoyable, fosters excitement about reading. After I talk about sight words, I'll will explain some ways you can integrate reading aloud with the instruction at Levels 1 and 2.
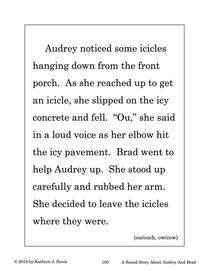
I want to discuss sight words very thoroughly because I know most programs do teach many sight words at the earliest levels. I can hopefully reassure anyone that is using the Sound City Reading program that because I don't teach sight words in that way, your students will learn many more sight words, even faster, with far less difficulty, in the long run. Most sight word lists include a selection of the most common words, both phonetic and non-phonetic. For example, the first list of Dolch sight words includes the phonetic words: and, we, in, go. It also includes these words that have phonetic elements that are not pronounced in the expected way: said, the, two, where. In the Sound City Reading program, the term "sight words" refers only to "rule-breaker" words that cannot be read phonetically. It does not apply to words that can be read phonetically, even if they are among the most common words. For example, the words in, we, and go, are very common, but they can be taught phonetically, so they are not considered sight words. As I put the sound city reading program together, I used a list of the one thousand most common words to help me choose which words to teach. So although there are relatively few non-phonetic sight words listed in the program, a large number of the phonetic words taught are taken from the list of the first thousand words. At Levels 1 and 2, students are not specifically taught to read words, either phonetic words or irregular non-phonetic words. (That doesn't mean that your son won't naturally begin to recognize some of the words that he sees.) However, there is much "learning to read" that is going on during this period. Levels 1 and 2 teach the necessary sub-skills that are required for successful reading and writing. This includes letter recognition and letter/sound association, beginning handwriting-which not only reinforces letter recognition and sounds but also prepares students for spelling, and phonological awareness exercises (oral blending, segmenting, rhyming). The lessons develop an understanding that words are made of individual sounds that are represented, in order, by a series of sound symbols/letters. While some students are able to develop these skills instinctively, other students need lots of practice to develop them. So the skills are taught throughout the books, built into the daily lessons, so that both types of students are able to master them. At Level 1, there are eight lessons read aloud by the teacher to convey a basic understanding of how print works, how words are arranged on a page, and why the letters in words are arranged the way they are. During this process, students are exposed to a number of printed words. Students study lists of illustrated words with the teacher a Level 1 and Level 2 to help them understand beginning and ending sounds in words. Although students are not yet expected to be able to read the words, students may be able to recognize some of them after this initial exposure. At Level 2 (and Level 1 if desired), students learn to spell words with plastic letters. This allows students to learn to spell phonetically while they are still mastering handwriting skills. Spelling words with plastic letters requires students to listen carefully to the sounds in each word so that they can place the letters accordingly. Learning to analyze words in this way helps students to "crack the code," so that learning to read and spell words phonetically will make sense to them. At Level 3, students learn to read and write phonetic short vowel words. Students are also taught these sight words: a, A, as, has, was, is, his, I. The sight words are taught as exceptions to the rules. For example, in the Rhyming Short Vowel Words And Sentences book, first, students learn to read short a words. Then they are taught that in the words a, A, and was, the letter a is pronounced as the short u sound. Since they can already read short a words, learning these words as sight words, as rule breakers, will make sense. As another example, when studying the sight words as and has, students learn that in some words the letter s is pronounced as the /z/ sound. Learning a few sight words is very useful at the short vowel level because it allows students to begin reading and writing sentences. Students learn to read one word after another, going from left to right, putting the words together so that they convey meaning. Lots of practice helps them develop a rhythm to their reading so that it sounds like normal speaking. Most programs, even phonetic ones, teach a lot of sight words at the short vowel level so that students can begin reading easy stories. In these programs, many sight words are integrated with the short vowel instruction. This is not how the Sound City Reading short vowel materials are set up. The focus is on mastering decoding and spelling skills with short vowel words and developing the ability to read sentences. This prepares students to make rapid progress at the next level, which teaches the various phonics patterns. Why have I set up the first three levels in Sound City Reading in this way? It is because some students are able to pick up sight words fairly easily, while others find it difficult, and others find it nearly impossible. Many students get discouraged from the very beginning, becoming so anxious that they are unable to focus and learn. They fall behind quickly and never catch up. It is not fair to these students to teach this way, when they could be taught the same words phonetically with far better results. For example, in one basal reader program that I worked with, the words out, about, around, found, and a number of other ou words were taught throughout the year as sight words, starting at the short vowel level. During this time, students were not told that the ou pattern shows the ou/ouch sound, so they had to memorize all of the words. The ou/ouch pattern was not taught until the end of the school year. This is my reasoning. Once students have become confident reading and spelling short vowel words, they can then learn to read and spell words with various phonetic patterns relatively quickly. Instead of spending a lot of time drilling sight words such as see, look, out, and funny at the short vowel level, why not wait until the phonics patterns level and introduce the patterns in those words, ee, oo, ou, and _y as soon as possible. It's much easier to teach see, feet, need, keep, and heel as a group of words, phonetically, than it is to teach see as an individual sight word, without teaching the ee sound. Using the phonetic approach makes more sense to the students. It builds confidence and paves the way for rapid progress. Students are able to learn a large number of words in a short amount of time. After starting Level 4, Phonics Patterns, students study one new phonetic pattern each day. This fast pace is possible because they have already learned all of the necessary skills in the previous levels. This works well, allowing students to begin reading real books as soon as possible. The same lesson plan is followed for each new pattern taught. For example, students learn that the ai pattern represents the long a sound, as in rain.They practice spelling and reading ai words with that sound. After studying one or more new patterns, students then read a short practice story that contains words with those patterns and previously taught patterns. Level 4 is when most of the sight words in the program are taught. As they study a new set of phonetic words, students are introduced to any non-phonetic words that are spelled with the same pattern. For example, when studying words with the ai pattern, which represents the long a sound in words, they are also introduced to the sight word said. The word said has the short e sound instead of the long a sound, so it is taught as an exception to the rule. Students are not taught the word saidbefore learning phonetic words with the ai pattern, because they might expect other words with the ai pattern to have the short e sound. Learning the phonetic words first eliminates that type of confusion. The ultimate goal of this phonetic instruction is to provide enough practice so that students are able to decode, or "sound out" words well enough that the process becomes automatic. At this point, the phonetic words, in a sense, have also become "sight words" that are recognized instantly. How Reading Aloud Can Be Used To Reinforce Skills At Different Levels For the suggestions listed below, you can do several words on each page, depending on the amount of time you have and how long your son remains interested. You will probably be able to think of other similar questions to ask.
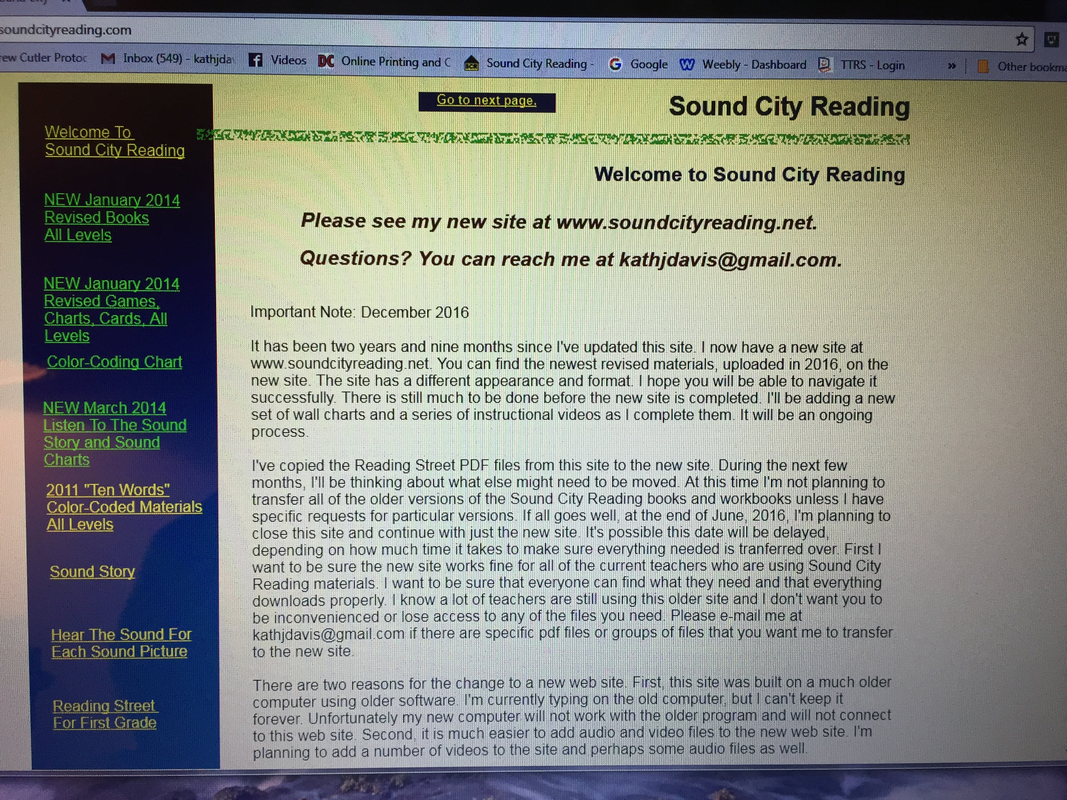
Preparing Students To Read Easy Trade Books Aloud In Level 4, students study a series of eight books that teach the most common phonics patterns. They will be able to begin reading easy trade books starting with Phonetic Words And Stories, Book 5. The books are listed on the sequence charts to show when then can be read. When a book is listed, you will know that almost every word in the book can be read phonetically, using the patterns that students have already learned. The sight words that have been taught are also taken into account. For example, after studying the er/her pattern in Book 5, students will be able to read The Foot Book, by Dr. Seuss. Because they have already learned the necessary phonetic patterns and sight words, students can generally read these books by themselves, with a little help as needed. A good strategy is to read each of these books aloud before asking students to read them. This can be done from the very beginning of instruction, at the earliest levels. Multiple readings of each book, over a period of time, are the most effective. Being familiar with the story provides extra support as students read the words and sentences. Today I contacted the hosting service for the old Sound City Reading website at www.soundcityreading.com to ask them to close the site. It should be down as soon as they can fulfill the request. Within a short time, the .com address will automatically forward to the newer site at www.soundcityreading.net. I have strong mixed emotions about discontinuing the older site. I originally posted it in 2008, if I'm remembering correctly. I updated it regularly with the newest versions of the phonics books I created. I was able to see a map showing the locations from which people were downloading pdf files from all over the world. It was very exciting to see more and more countries colored in on the map. The web site also provided a way to share phonics materials that I created with fellow teachers in Shelby County. The software platform for the old site was completely outdated, so much so that my newer computers could not even log on to the site builder any more. Yet, I didn't have the heart to take it down because hundreds of people were still visiting the site every week. The hosting network updated to a new platform but I was stuck in the old one. It became difficult to even communicate with the web hosting site at all. So today is the day that the old site is coming to an end. As I looked at the old site for the last time, it struck me how much better the new Weebly site really is. I sincerely hope that the users that have visited the old web site faithfully will find many things to like about the new site.
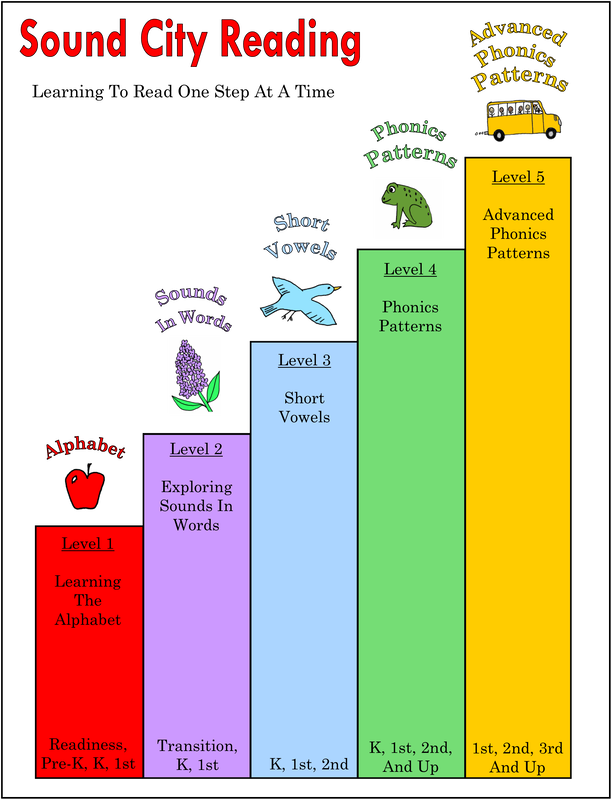
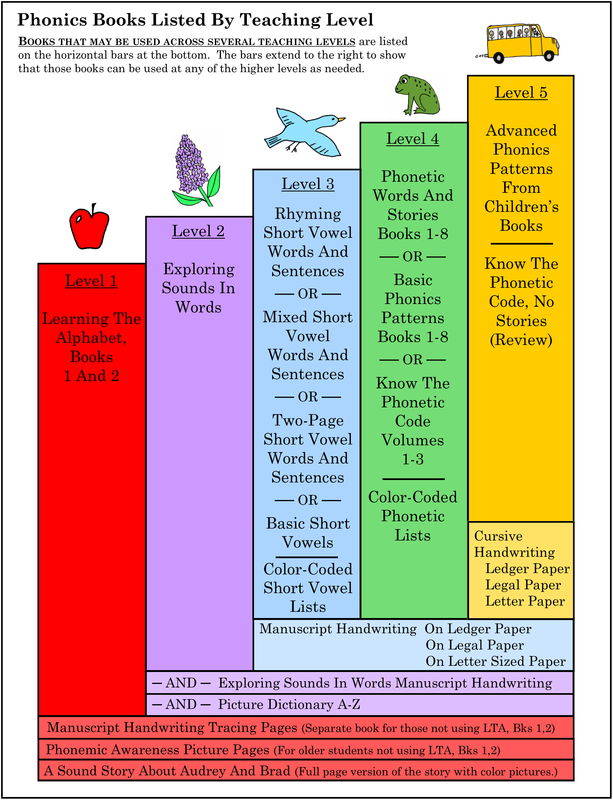
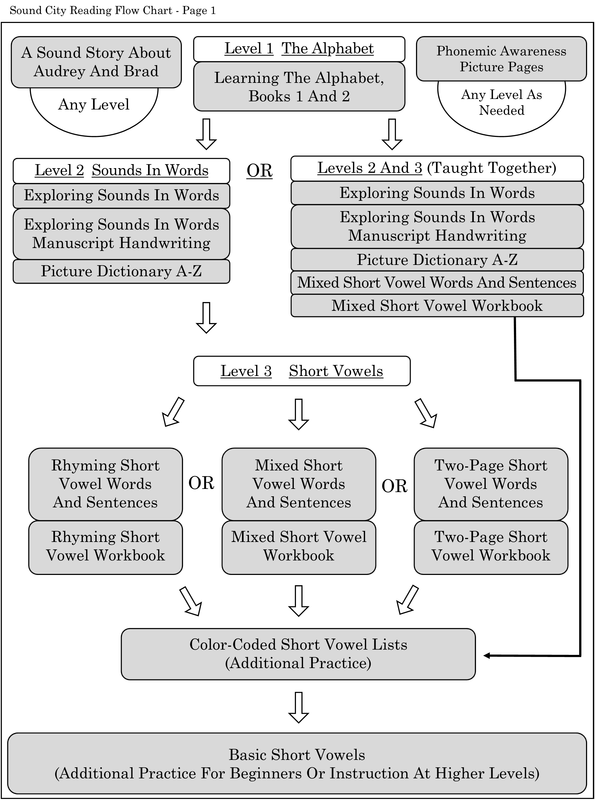
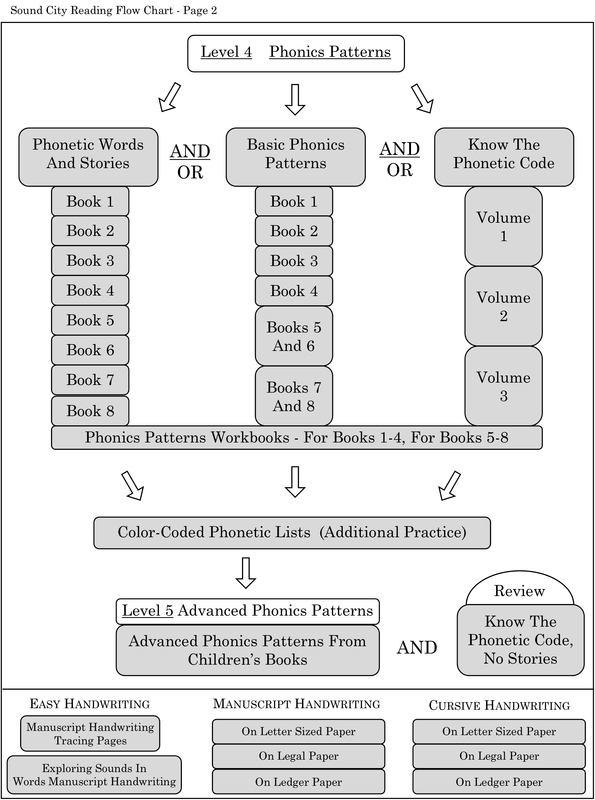
I've updated the overview charts and the flow charts showing all of the Sound City Reading phonics books. Click on any chart to enlarge it. The changes to the overview charts make it more clear that it is not necessary to use every book in a given level. You could choose, for example, Book A OR Book B OR Book C at a particular level. The different options may present the material in a different order (as in the short vowel books) or in a different format (as in the phonics patterns books). Although having a variety of books at some of the levels may be initially confusing, the advantage is that you can fine tune your instruction by selecting the particular books that are best suited for your students. The overview charts give a range of suggested grade levels for each group of books. The books are not limited to a single grade level, so that they can be used at any level as needed. The flow chart pages have been changed to show two alternate routes for beginning readers.
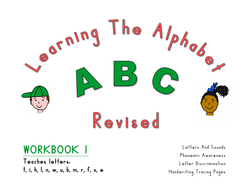
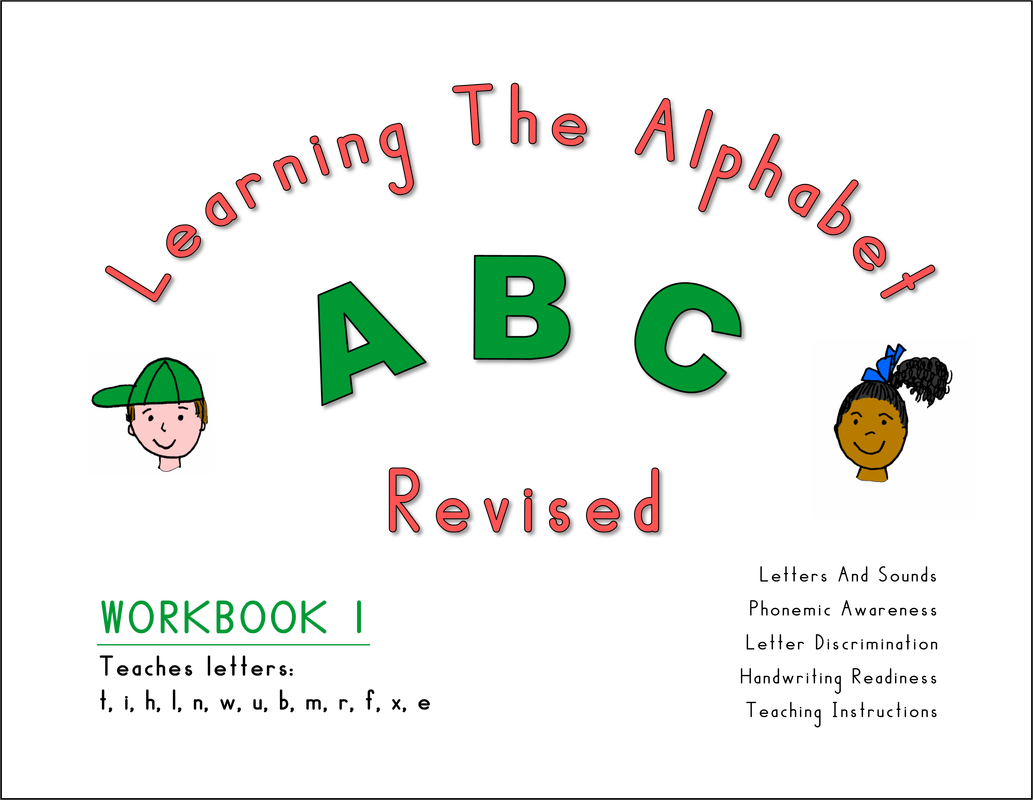
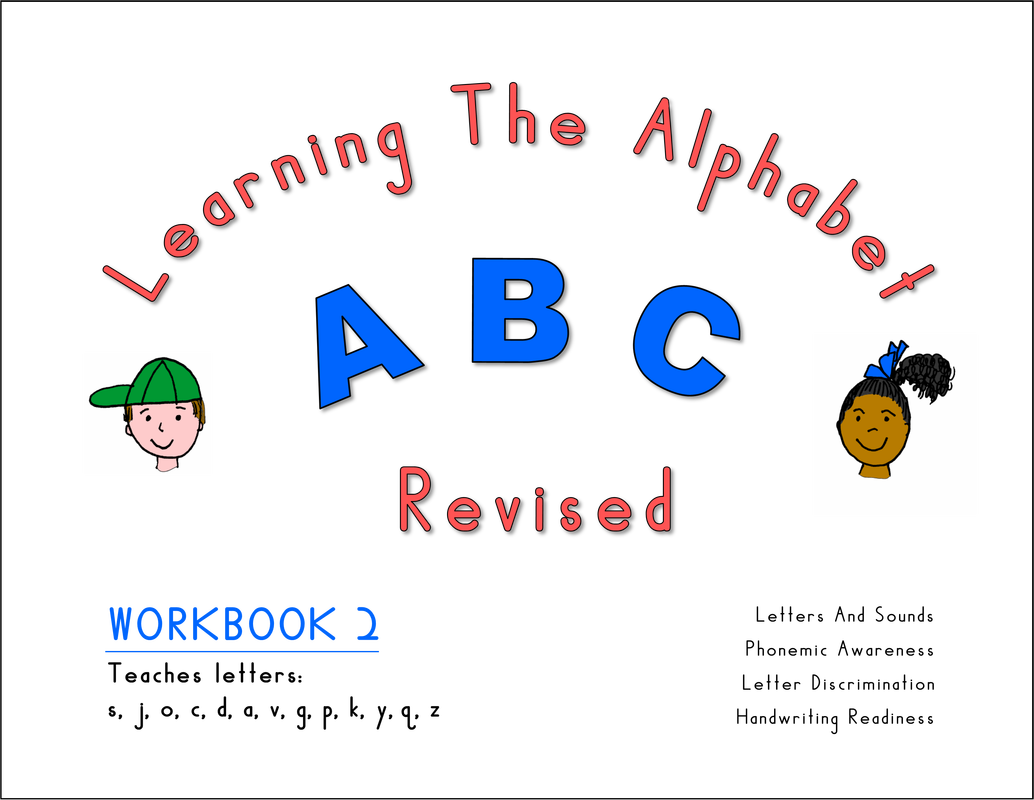
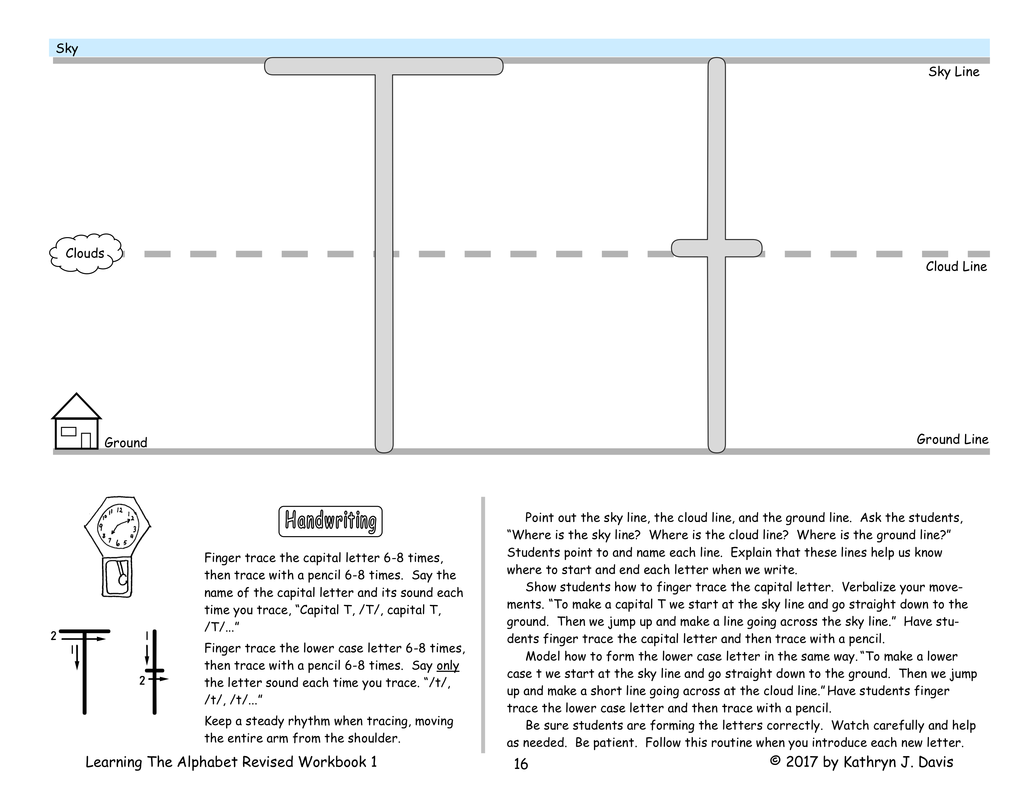
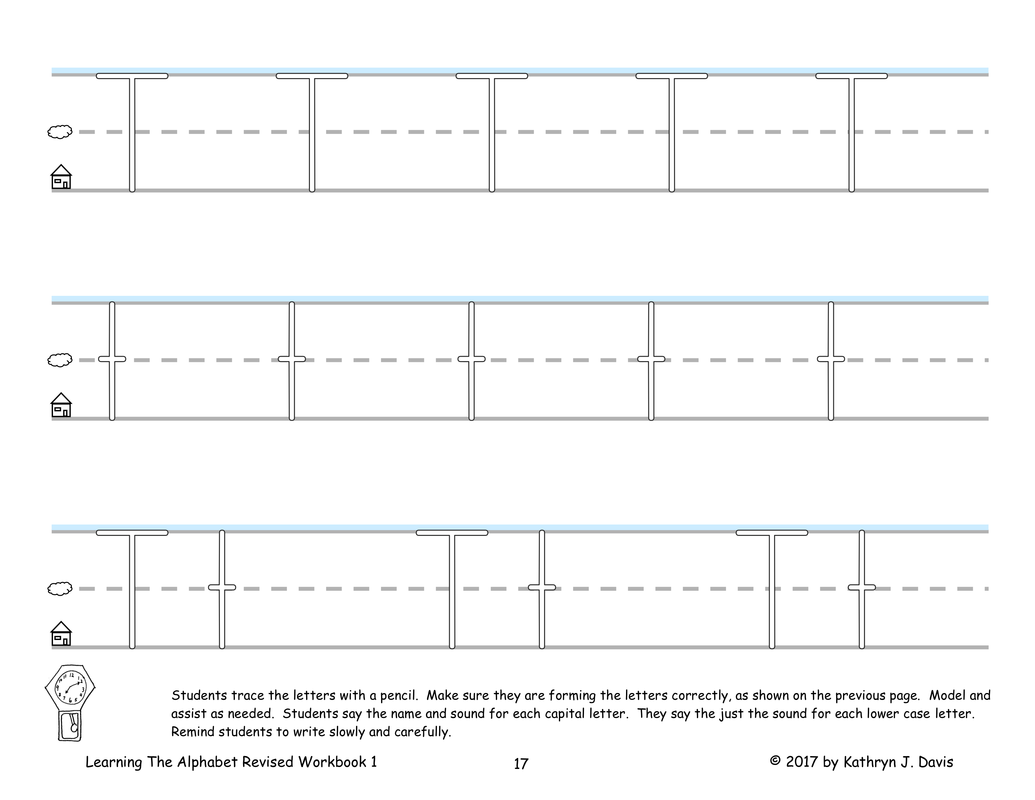
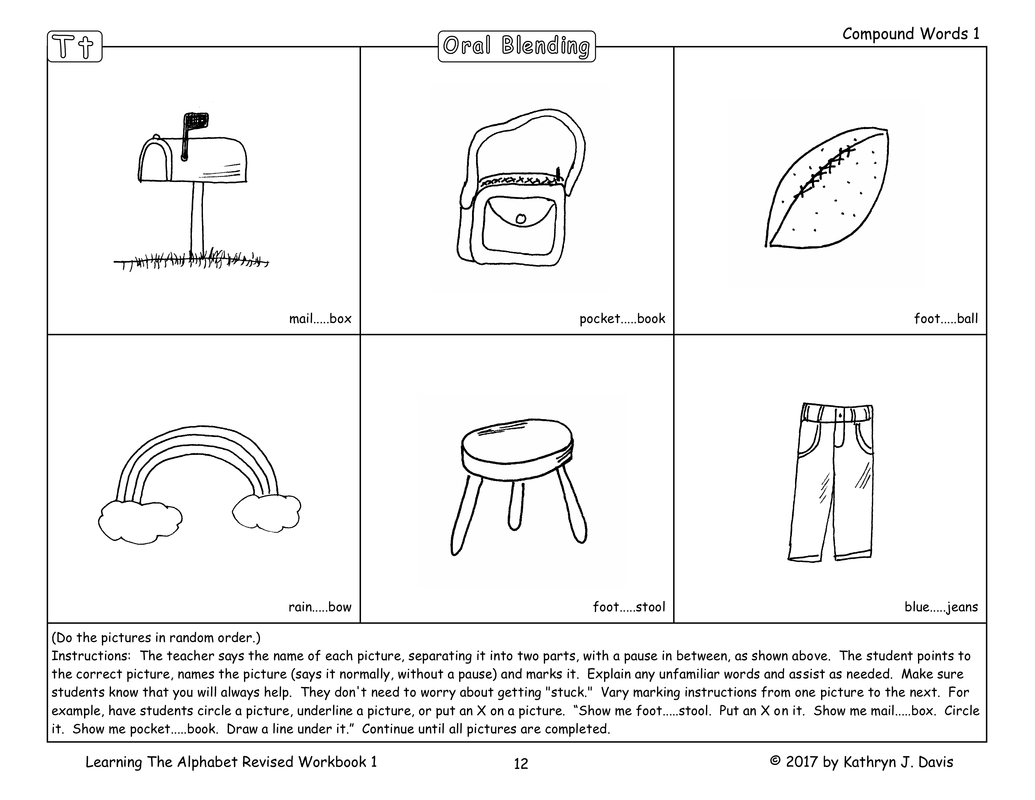
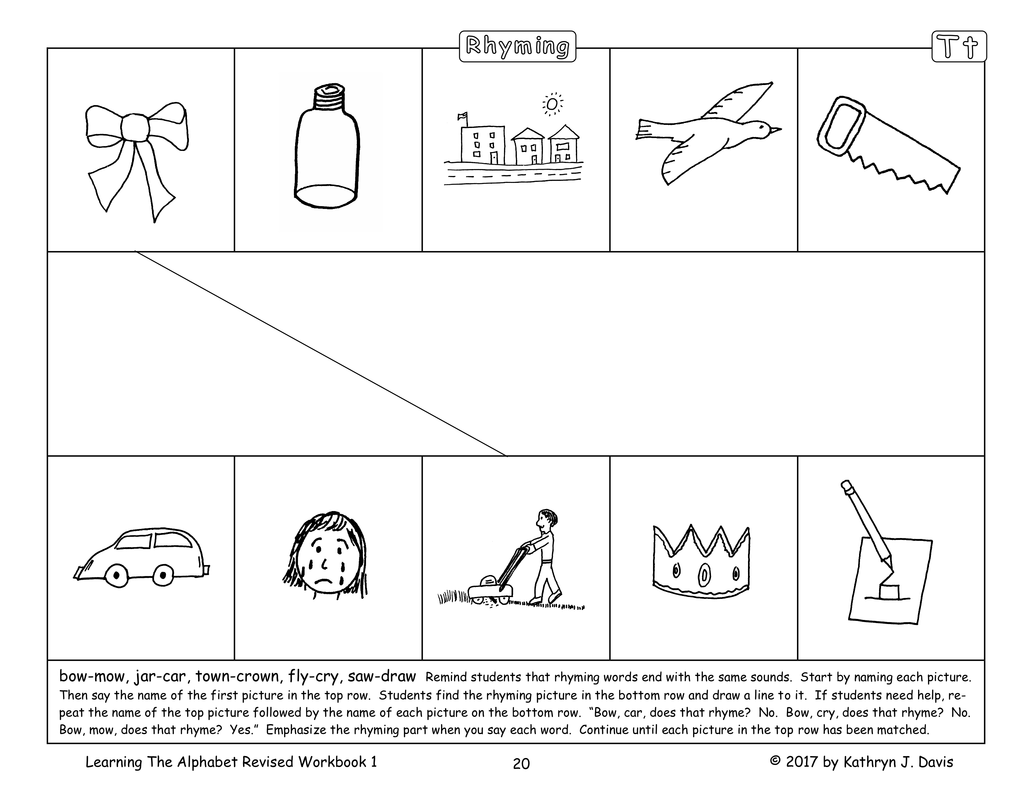
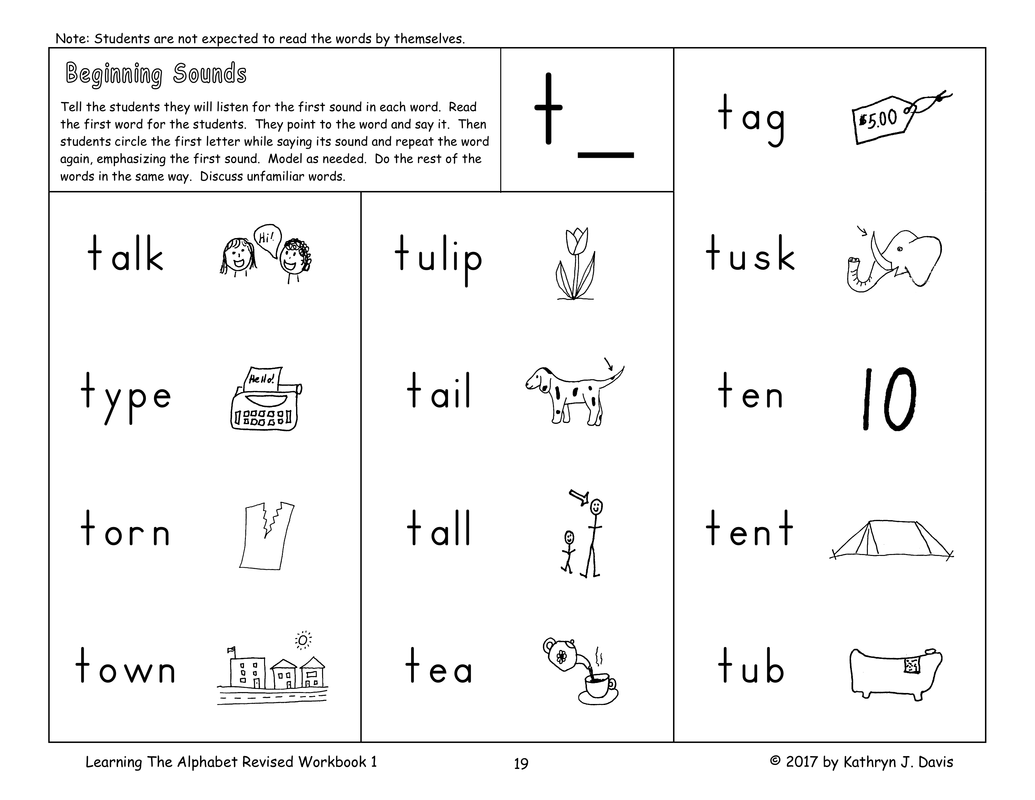
I've revised the Learning The Alphabet books and have uploaded the PDF files today. A separate teaching guide for these books will be posted in the near future. These books are perfect for students who are learning the alphabet letters. I developed these pages for my grandson when I was teaching him the alphabet. The PDF files are copyrighted but they may be downloaded and printed by teachers, parents, and tutors, to use with their own students. I had previously thought that I might combine these books into one book and put the handwriting and sound story pages into a separate book. After more thought, I decided that since this is the very first book in the Sound City Reading program, I should leave everything together. This will make it easier for teachers and parents to follow the teaching sequence. All you have to do is go from one page to the next, in the order in which the pages appear in the book. The changes in the books are as follows.
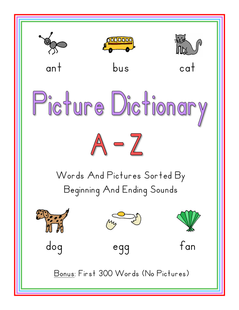
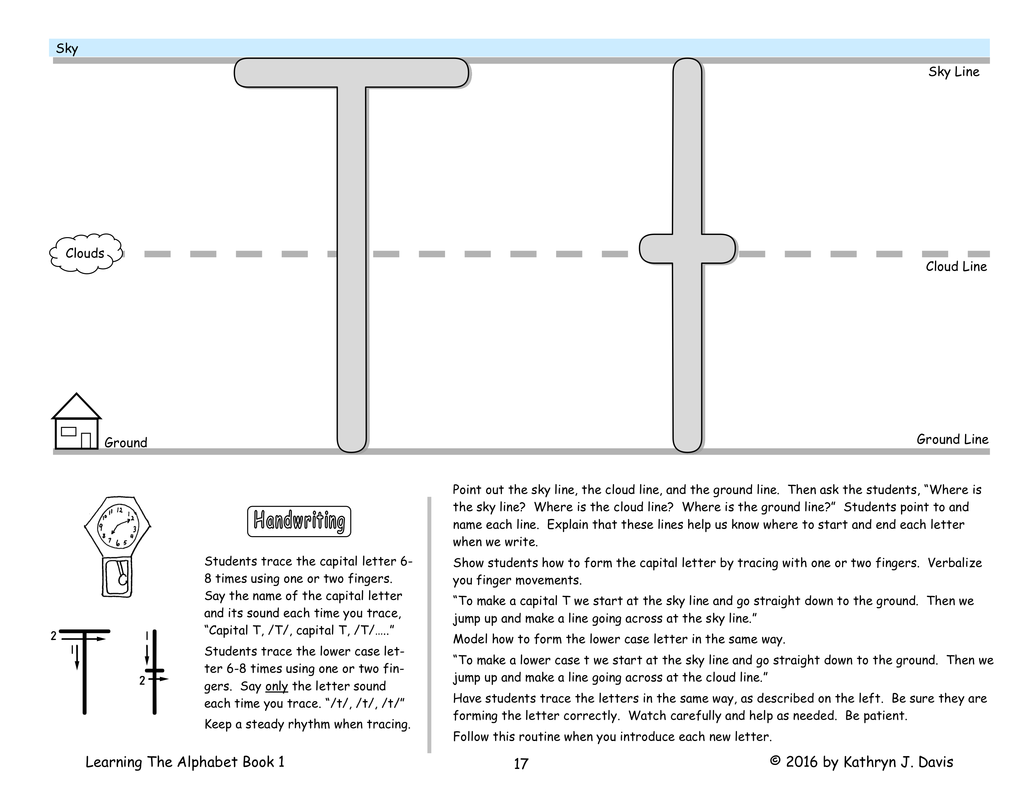
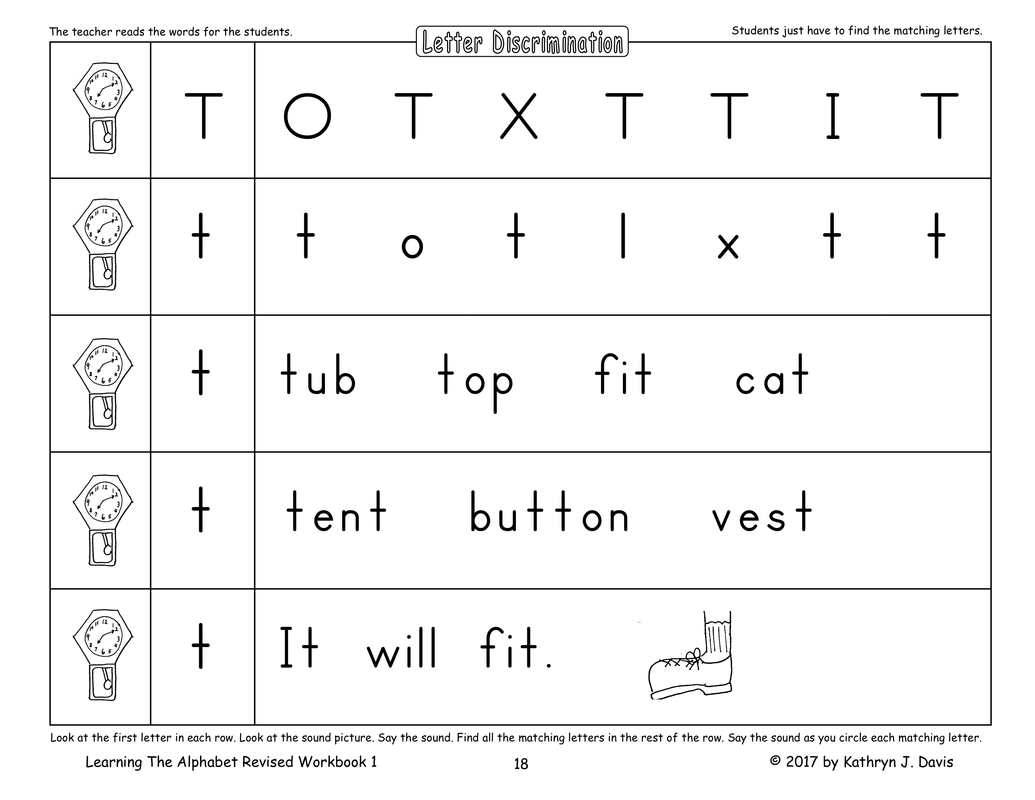
Both the original and revised versions are set up with beginning learners in mind. They use multi-sensory instruction to teach new letters. Tracing large and small letters helps students internalize each letter shape so that they can recognize the letter when they see it. Saying the letters sounds as they trace helps students associate each letter with its sound. After tracing a new letter, students complete a letter discrimination page, on which they circle the new letter in rows of individual letters, in rows of words, and in a sentence. (Students are not expected to read the words and sentence; they are read aloud by the teacher.) As each new letter is taught, two types of picture pages are included to teach beginning phonemic awareness skills. The first teaches oral blending, and the second introduces students to rhyming Students also study a page with words and pictures. Each word on the page begins with the new letter. The students look at the pictures to figure out the words, with the teacher's help. As students pronounce each word, they listen carefully for the first sound, and circle the beginning letter. This introduces them to the concept of beginning sounds in words. The begin to understand that the beginning letter in a written word represents the first sound in the spoken word.
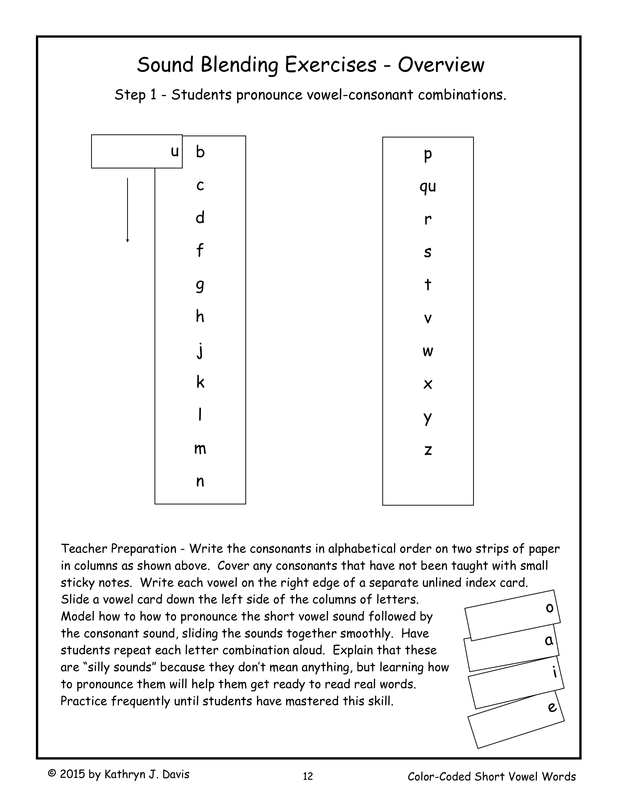
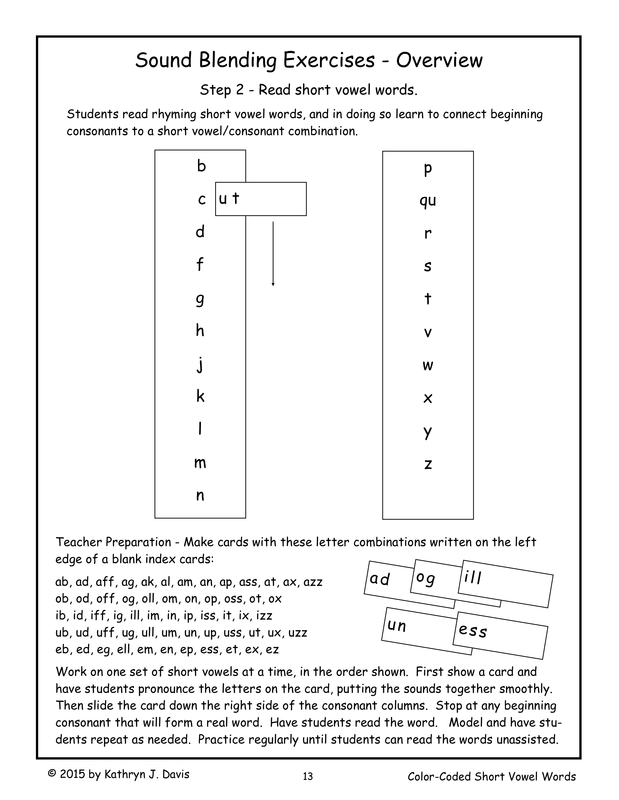
10/9/2017 I've Uploaded A Smaller Version Of The Letter Connections Activity Used To Teach "Sound Blending"Read Now These instructions in the book Color-Coded Short Vowel Words explain how to make letter connections materials to teach sound blending. However, both a large and small version of these materials are available as pdf files to download from this web site. The two versions of the Letter Connections Activity can be found on the PDF Files page for sound cards, sounds charts, etc. The larger version has been available for a while. It is large enough to use with a whole class, displayed on a large easel or on a chalkboard. I uploaded a smaller version today. It is a good size to use when working with a single student or a small group. For one student it can be used on a flat surface such as a desk or table. For a small group, it can be used on a tabletop easel. These charts are used to teach "sound blending," the ability to connect a series of letter sounds smoothly when pronouncing them.
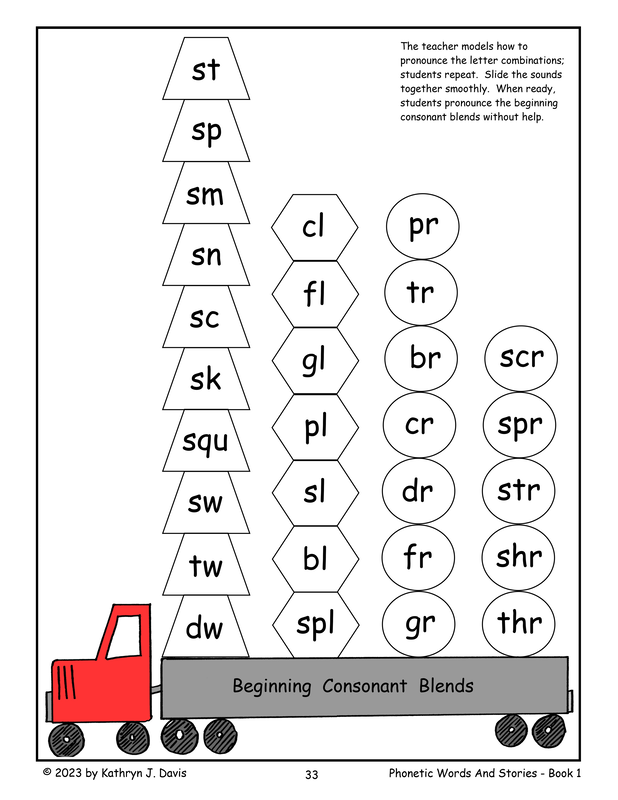
The Problem Often, students are able to say the sounds for the letters of the alphabet, put alphabet letters together to form words, and read words by saying the sound for each letter. They understand that letters are symbols for sounds and know that the letters are arranged sequentially in words to show us how to pronounce those words. However, they are still reading each word by saying one letter sound at a time, pausing between the sounds. While they can mentally put the sounds together after they have pronounced them separately, they are not yet able to read fluently because the decoding process slows them down quite a bit. The Solution The Letter Connections Activity teaches students to pronounce two or more letters, one after another, putting the sounds together smoothly. Step One: Working With Two Sounds Students begin by pronouncing short vowel-consonant combinations, such as ab, ac, ad, af, ag, and am. This exercise helps students learn to slide two letter sounds together smoothly. For beginners, this can be a challenge but it is much easier than trying to put three sounds together smoothly to pronounce a whole word. As students pronounce these vowel-consonant combinations, they are also learning that single vowels followed by a consonant usually represent the short vowel sound. Most of these two-sound combinations are not real words, so in this program they are called "silly sounds." Often, when students are having trouble pronouncing three-sound short vowel words smoothly, they will also have trouble putting just two sounds together. This activity teaches them how to do that. Step Two: Working With Three Sounds To Read Short Vowel Words After the first step has been mastered, students can begin reading series of short vowel words formed by moving cards showing the same ending chunks they have already mastered (_at, _oss, _in, _ell, _un, etc.) down a column of beginning consonants. Students add various beginning sounds to the ending chunks to pronounce either real words or nonsense words. For example, using the ending chunk _at, students would read bat, cat, dat, fat, gat, hat, etc. Even though not all of the letter combinations are real words, many of the non-word combinations will be beginning syllables from multi-syllable words that students will eventually learn to read. Because students are only having to change the beginning letter sound as the ending chunk is moved from one letter to the next, they will find it easier to pronounce the three-letter combinations smoothly, without having to say the sounds separately. If you prefer to work with only real words with the students, you can just skip any combinations that don't form words. Step Three: Working With Advanced Letter Connections Charts After mastering short vowel words, students will learn to read words with beginning and ending consonant blends and words with various long vowel and r-controlled vowel patterns. As they learn new consonant and vowel patterns, the teacher can use the various advanced letter connections charts to give students practice pronouncing consonant-vowel and vowel-consonant combinations. Again, these combinations are often not real words, but they are generally found in words that students will be learning to read. For example, students might practice putting beginning consonants with long vowel patterns, as in bai, cai, dai, fai, gai, hai. They can also practice pronouncing words or chunks with ending consonant blends, for example band, cand, dand, fand, gand, and hand, or with beginning consonant blends, as in stee, snee, smee, and spee. (Spell check is NOT happy with these pseudo words!) Notice that studying these non-word syllables will prepare students to read many multi-syllable words such as daily, Haiti, candy, gander, steeple, and speedy. Reinforcing With Color-Coded Short Vowel Lists and Color-Coded Phonetic Lists These two books contain both rhyming and body-coda (same beginning sounds) word lists, sorted by vowel patterns. They would provide excellent follow up reinforcement after students have done particular letter connections activities. Students can practice reading words with the same consonant and vowel patterns they have studied on the charts. Individualizing Instruction Some students pick up decoding more quickly than others. It's important to provide enough decoding practice for students who find it more difficult. Often students who struggle initially go on to become excellent readers, after mastering sound blending, which is an important sub-skill for decoding. Developing this skill allows students to begin reading more fluently. Working with specific letter combinations helps students begin to decode words more smoothly and automatically. At the same time they are able to study a lot of new words in a short period of time. This allows students to read on their own with more confidence and better comprehension. In my experience working with first grade students, even those students who come into first grade already reading will benefit from this specific type of decoding instruction. It helps them become more conscious of the various letter patterns so that they can apply them when they begin to read more advanced words. I've seen many good readers become advanced readers who are reading above grade level by the end of the year. Some students who begin reading without any problems have particular difficulty with spelling. These students benefit greatly from this type of instruction because they are able to apply the patterns they have studied when spelling words. 9/26/2017 The Videos For All Of The Sound Charts In Advanced Phonics Patterns From Children's Books Have Been UploadedRead Now I finished the remaining sound charts for Advanced Phonics Patterns From Children's Books today and uploaded them to the portfolio. You will be able to see the charts and hear the sounds for all of the patterns. These videos don't have any intro or music. They are in the same order in which they appear in the book.
9/25/2017 15 New Videos Showing The Sound Charts In Advanced Phonics Patterns From Children's BookRead Now
When I researched websites that would be able to store and stream the videos I'm making, I decided to use Vimeo. I'm paying for an account with them because, among other reasons, they have a variety of formats available for sharing videos. The format I'm using to share videos on this web site is called a portfolio. I selected this format because, within any portfolio, you can only see the videos that I have selected. This makes it easy to set up a sequence of videos for a particular phonics book, with all of them together and in order, making it easy to find the one you're looking for. The really nice thing about the portfolio format is that only the videos I put into the portfolio can be seen. This is important to me because there may be times children are watching the videos on their own. I don't want them to be exposed to videos on other topics, created by someone else, since I can't screen the content of other people's videos to make sure they are appropriate.
On the other hand, on the Vimeo web site, I have stored all of the same videos in a different type of collection called an album. Like a portfolio, I can set up an album for a particular book and put all the videos for that book together. I can even set it up so that only my videos can be seen from the album page. This is fine for adults. The problem is that there is an (unobtrusive) menu at the top of the page. By clicking on this menu, you can see various other videos, not my own, that are available on the site. While many of these may be fine for students, there may be some that are not fine. So, I had put a password on the videos in these albums. Unfortunately, this has caused confusion with teachers searching for the videos and finding them locked, so I have removed the passwords and made them available to anyone. So, the bottom line is this. If you want students to watch phonics videos from Sound City Reading, I suggest that you use the links under the videos tab at www.soundcityreading.net to get to the desired portfolios. On the other hand, teachers, parents, and tutors may search for Sound City Reading videos on the Vimeo site and watch those if they wish. Here is a link to the Vimeo site.
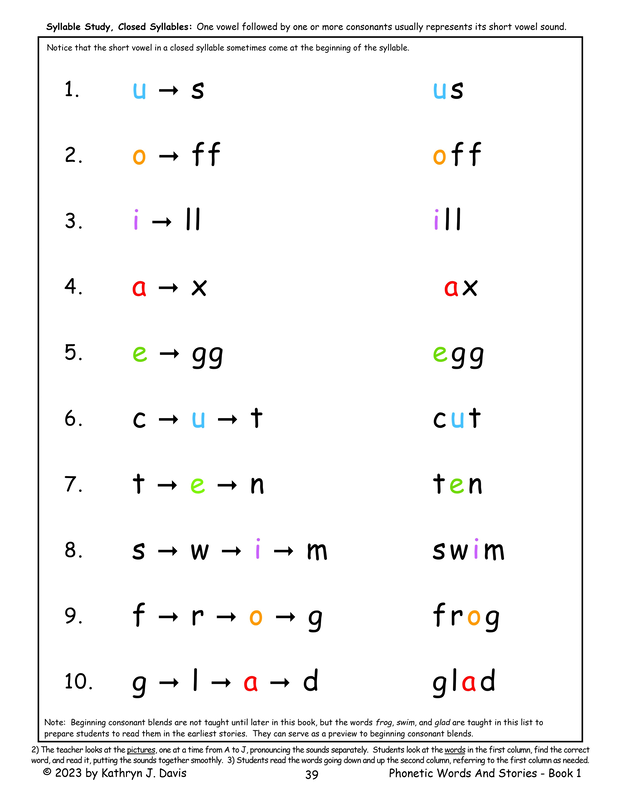
I'm doing a major revision of the book, eliminating the first short i pages, reordering many of the short vowel pages, and revising many of the word lists on the picture/word pages. The words and pictures will be the same, but I'm setting it up so there's less jumping around from one short vowel to the next. I'm going to try to add a section to the instructions explaining how to integrate reading and spelling with this book and how to prepare students for the next level by teaching the patterns from Part 2 of the sound story.
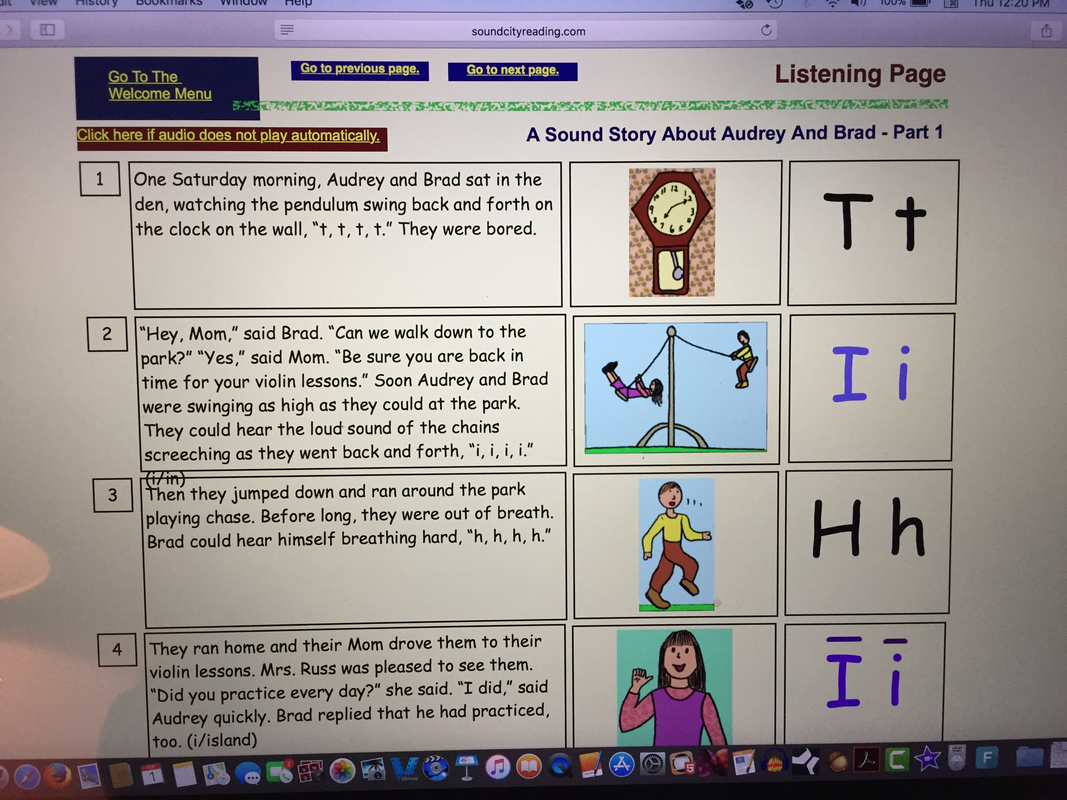
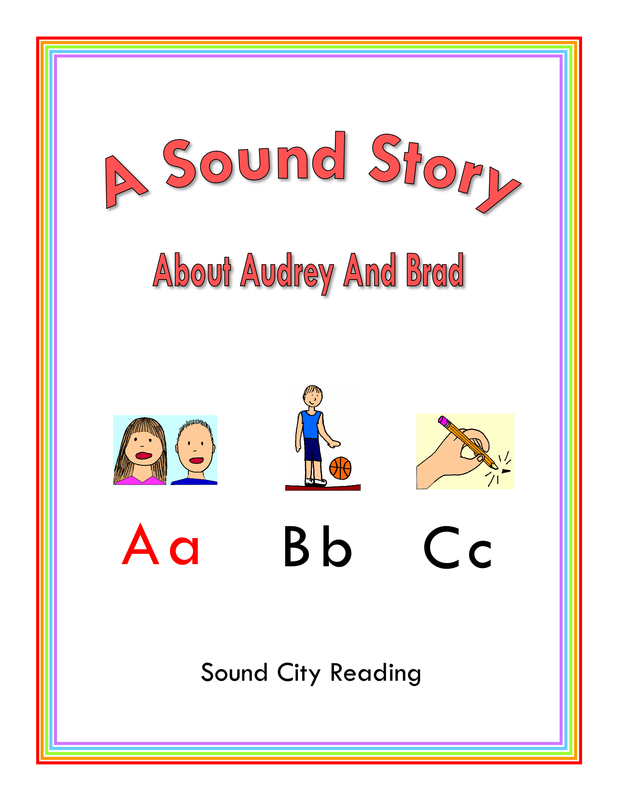
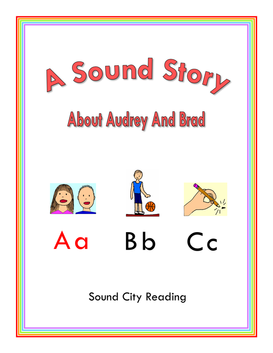 I've added all of the videos for Part 1 of A Sound Story About Audrey And Brad to the Sound City Reading website at www.soundcityreading.net. You'll be able to listen to the sound story and sounds for all of the letters of the alphabet. You can find them under VIDEOS on the menu bar. Each section is recorded separately. The videos are in a portfolio, which is one way to group videos on the Vimeo website. They are arranged in the same order in which the letters appear in the sound story. I re-recorded the first videos so now the voice quality for those videos will be better.
I've been working for almost a year now with the Camtasia program to learn how to make screencasts for some of the Sound City Reading books. I have had good luck with a number of test recordings, but there were always a few glitches that I didn't know how to correct. Over the past two days I've studied my previous notes, a number of Camtasia video tutorials, and any information I could find online to try to answer the questions I still had. Victory! I can now put together a high resolution screen recording that I can share online through Vimeo.
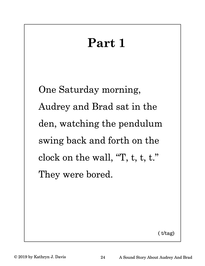
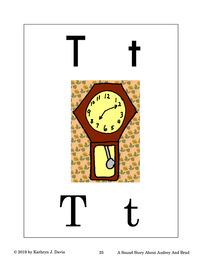
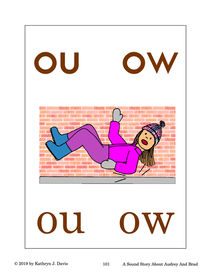
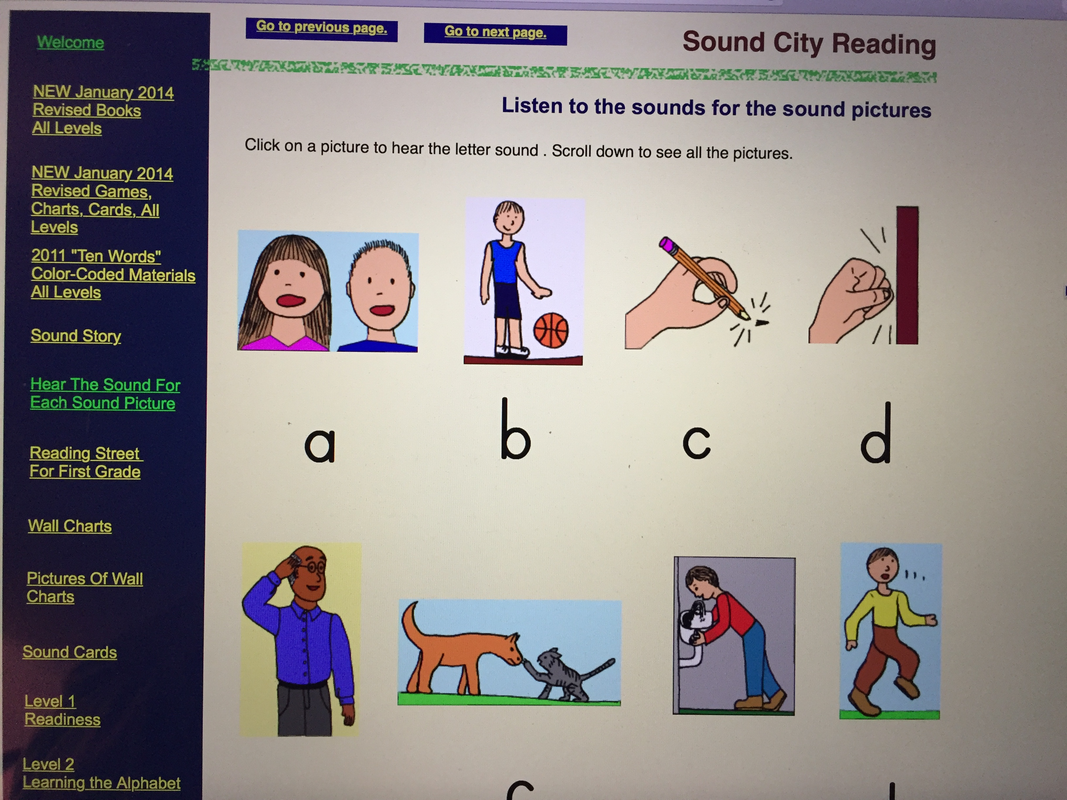
Unfortunately, my vocal cords are not cooperating! I have recorded the first pages from A Sound Story About Audrey And Brad, and my voice quality is terrible. : ( Nevertheless, with apologies, I'm posting the videos. At least parents and teachers can watch them and get an idea about how to pronounce the alphabet sounds and present the material. Perhaps, at some point I can re-record the videos. If you're not familiar with this sound story, it introduces speech sounds in a story. Each speech sound is represented by a sound that occurs in the story. Every sound is represented by a picture that could occur in real life. As far as possible, the pictures are intuitively clear. For example, some of the sounds include a growling dog, snow crunching under boots, blowing wind, and chains squeaking on a swing set. Sounds made by people's voices are included: exclamations of surprise (oh!), pain (ow), and satisfaction (mmm). Students can have difficulty learning the alphabet letters and their sounds because they are purely symbolic. There is nothing about the letter T that indicates what the sound for the letter might be. However, if students are shown a picture of a ticking clock, the /t/ sounds seems reasonable and students are able to make a clear connection between the picture and the sound. The goal of the sound story is for students to easily learn the sound for each picture, and then relate that sound to the capital and lower case letters that represent that sound. To me, it can be very confusing for students to learn the alphabet letters because they are truly complicated. There are capital and lower case forms for each letter. Some of these look the same, and some look entirely different. Yes they have the same names and sounds. For some letters, such as b and d, the sounds are fairly obvious because they are pronounced as part of the letter name. Other letters are completely disorienting. The letter H (aich) represents a sound that is totally different from its name. This is why, in the sound story, students start with the sound picture, and then relate it to the alphabet letter that represents that sound. On top of that, letters printed in various fonts can look quite different from the letters that students learn to print. So I've included two sets of letters with every picture. The first pair of letters is printed in a "san serif" font, without serifs. The second set of letters is printed in a font with serifs, which are the small pointed lines that stick out from the basic letters. I'm hopeful that explaining both types of letters from the very beginning will help students be less baffled but the whole process. I spent some time a few months ago studying about the development of phonetic languages, just looking for information online. I found it interesting that the Phoenicians, who adapted a few of the many Egyptian hieroglyphic symbols to create their alphabet, chose letters that were really very simplified pictures from their everyday life. Once you learned what object each picture represented, it was easy to remember the sound - it was just the first sound in the word. Teachers commonly use "key words" to teach alphabet letters, as in a/apple, b/ball, and c/cat. But the Phoenicians made it even easier because their letters were actually simplified pictures of the key word, making it easier for Phoenician children to learn the alphabet than children who are learning the English alphabet in modern times. I used key words to teach the alphabet for years. Then I began teaching my five year old niece. I had the alphabet cards on the walls in my living room that I had used for years in my classroom. But b/ball didn't mean anything to her because she couldn't hear the /b/ sound at the beginning of ball as a separate sound unit. She just heard the whole word "ball." I wrote the sound story that I now use for her, writing a new section and drawing a new picture before she arrived for each lesson. This approach changed everything for her. She easily learned to recognize the alphabet letters and to remember their sounds after she had learned the sound pictures first. I later went back to the classroom and used the sound story with groups of first graders for years, with good results. I've been doing a lot of thinking about the Learning The Alphabet and Exploring Sounds In Words books. I've decided to leave the Learning The Alphabet book as it is. It will continue to have all the different types of pages needed to complete the level, including oral blending, rhyming, handwriting, and sound story pages. For beginning students and teachers, it would be too hard jumping from one book to another. And I realized it would be too hard for me to explain it. On the other hand, for the Exploring Sounds In Words level, I'm going to keep the idea of using separate books for certain of the skill pages. I'm working on revising the directions at this level and I think I will be able to make the use of the various books clear.
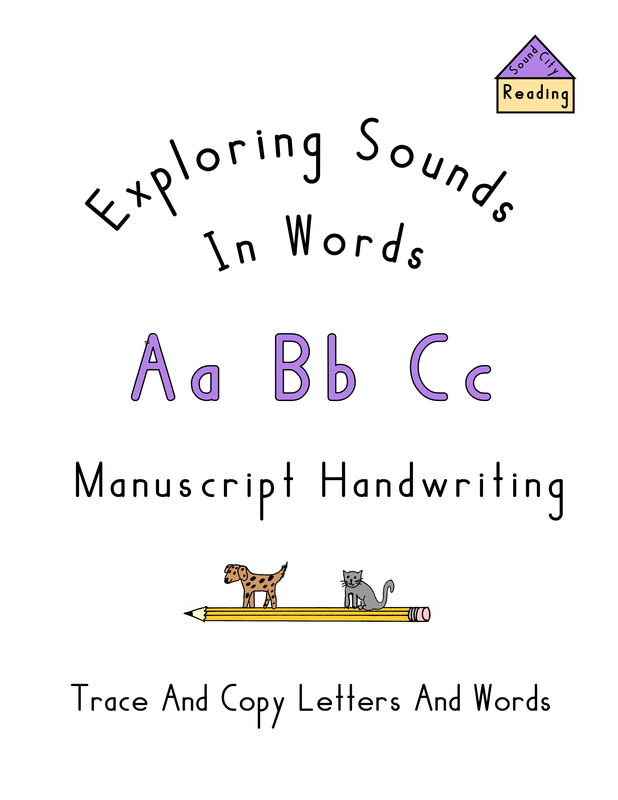
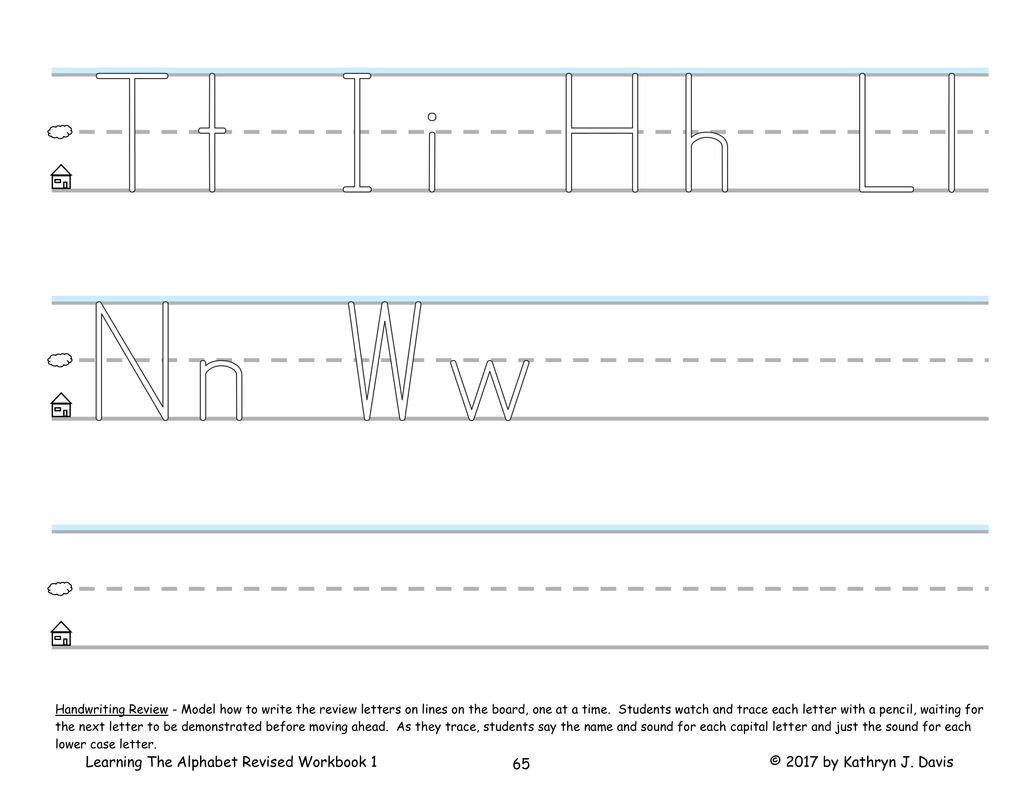
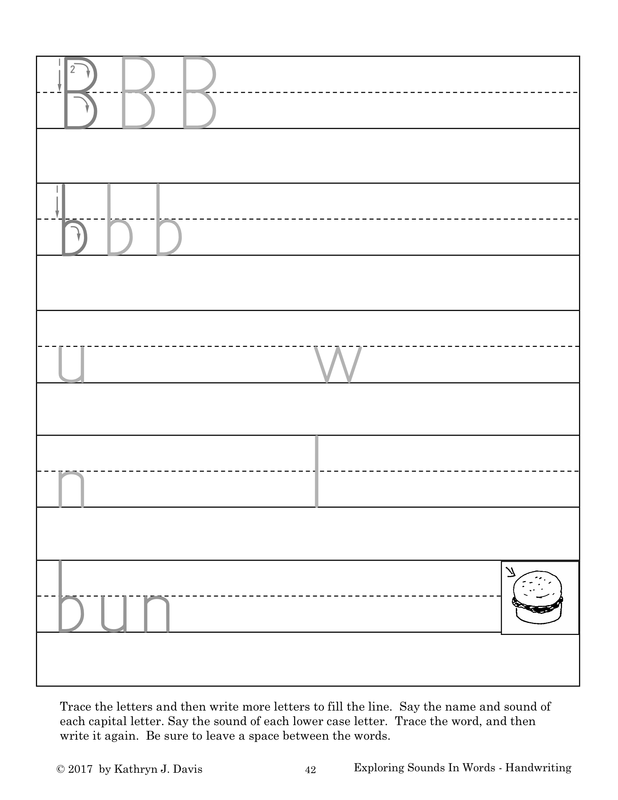
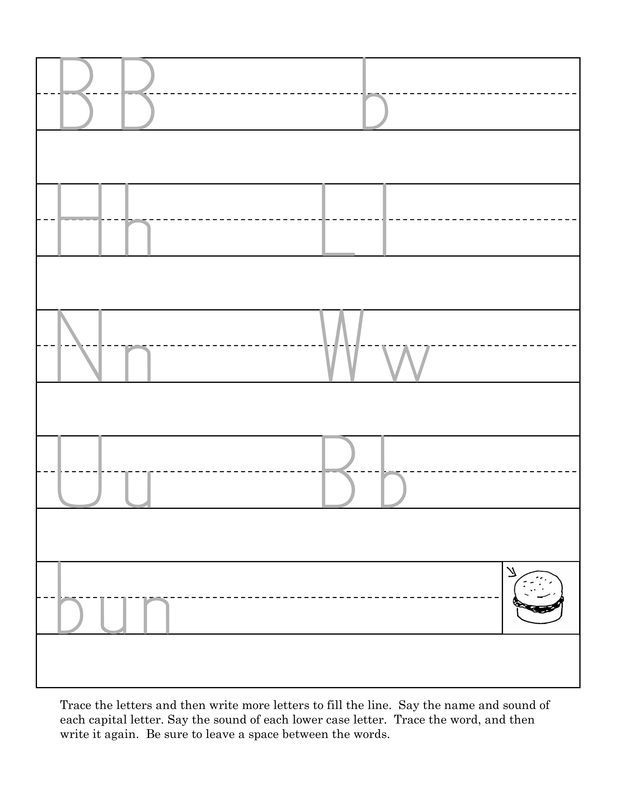
I've added a revised Exploring Sounds In Words Handwriting book to replace the previous file. This version is almost the same. I added more review letters to the pages with smaller letters. This is similar to the handwriting format I used at home with my grandson when he was in kindergarten. The handwriting review pages worked very well for him. On the revised pages, students trace and copy six review letters per page, both capital and lower case.
I learn as much from my failures as I do from my successes. This past weekend I saw my son at a family reunion. He has used the Sound City Reading materials with his elementary aged children. He said that the color-coded words in the Phonetic Words And Stories Books have been frustrating. His children want to know why the letters are in different colors, and he didn't know how to explain it to them. It sounded like they had just skipped the colored words and worked with the stories printed in all black print and the all black print pages in the workbooks.
This type of feedback is always very valuable to me. The original Sound City Reading books had all black print. Although the colored print has been most helpful to many of the students I have taught, a few students have definitely preferred the all black print when reading the stories. When I got home I sat down and revised a few picture/word pages from Book 1, using all black print and the Century Schoolbook font. It looks good. The picture/word format will still work well to help students learn to read new words, regardless of whether the print is in color or is all black. I'm planning to use the black print format to make a complete set of the Phonetic Words And Stories books. It will take me some time, but hopefully not too long. I'm excited about this, not just because some teachers, parents, and students may prefer them, but because the books will be less expensive to print since they are not in color. More people will be able to afford them. I'll continue to make the color versions available, because I do think many students benefit from the color coding. And I will definitely try to make my instructions about the colored print more clear for those who are using them. I am left handed. I have read several well respected books that include handwriting instruction. Some books insist that left handed students tilt their paper to the right, just the opposite of students who are right handed. I disagree with this advice. Although it seems to make sense to do so, since students are writing with the opposite hand, the logic does not hold up. That is because lefties still write from left to right. If left handed students wrote from right to left (basically, forming all of their letter backwards), then tilting the paper in the opposite direction works. I've tried it. If you force left handed students to write with their papers tilted to the right, one of two things will happen. First, they might write with a backhand. The letters will slant backwards. Second, they might pull their right shoulder back, pull their left elbow forward, and curve their wrist so that they can write with the letters in the correct letter position. The second option is what I did throughout early elementary school. It was uncomfortable for a short period and painful for longer periods to write this way. The secret is for both right and left handed students to tilt their papers slightly to the left. Right handers will have their hand, wrist, and forearm in a line parallel to the side edge of the paper. For left handers, their hand, wrist, and forearm will not line up with the edge of the paper. Instead, the left hand and left edge of the paper will form a tepee shape.
This way left handed students can write comfortably.
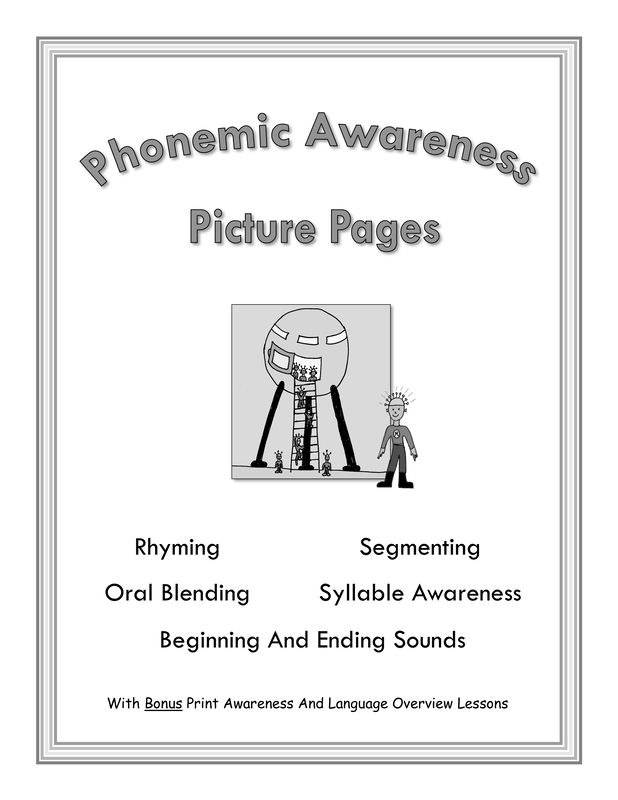
I'm working on a book of sequence charts that will explain what each book in the Sound City Reading program teaches. The new sequence chart book is not ready, so I posted the old one, for now, on the home page. I hope it will be useful. As I've worked to create an overview of how all the books fit together, I've realized that several of the books are inefficient because they repeat the same skills and information that can be found in other books. I can see that reorganizing the Learning The Alphabet books and Exploring Sounds In Words books will provide more flexibility and clarity to the instructional process. Paper and toner are expensive, and I'm hopeful these changes will reduce overall printing costs as well. Here is a list of pages that will be removed from both books and placed in separate books that focus on specific skills. This will eliminate redundancy. It won't be necessary to repeat the same pages in both books.
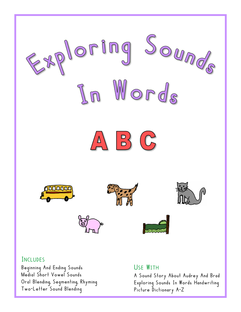
I have already made these changes in the files on my computer. I'm pleased to see that by reorganizing the pages, the instruction for all of the alphabet letters will fit into one book instead of two for both Learning The Alphabet and Exploring Sounds In Words. Comparing Learning The Alphabet And Exploring Sounds In WordsAlthough the material is similar, the Learning The Alphabet and Exploring Sounds In Words books are at two different levels.
Learning The Alphabet - Easiest Book For Beginners, The Goal Is To Learn The Letters Of The Alphabet And Their Sounds, Students Do Not Have To Master Each Letter To Continue Through The Book, Students Do Not Have To Be Able To Write The Letters Independently.
Exploring Sounds In Words - More Challenging Than The Learning The Alphabet Book, The Goal Is To Be Aware Of The Individual Sounds In Words And Relate Those Sounds To Letters Of The Alphabet, Students Have To Master Each Letter To Continue Through The Book, Students Must Be Able To Write The Letters
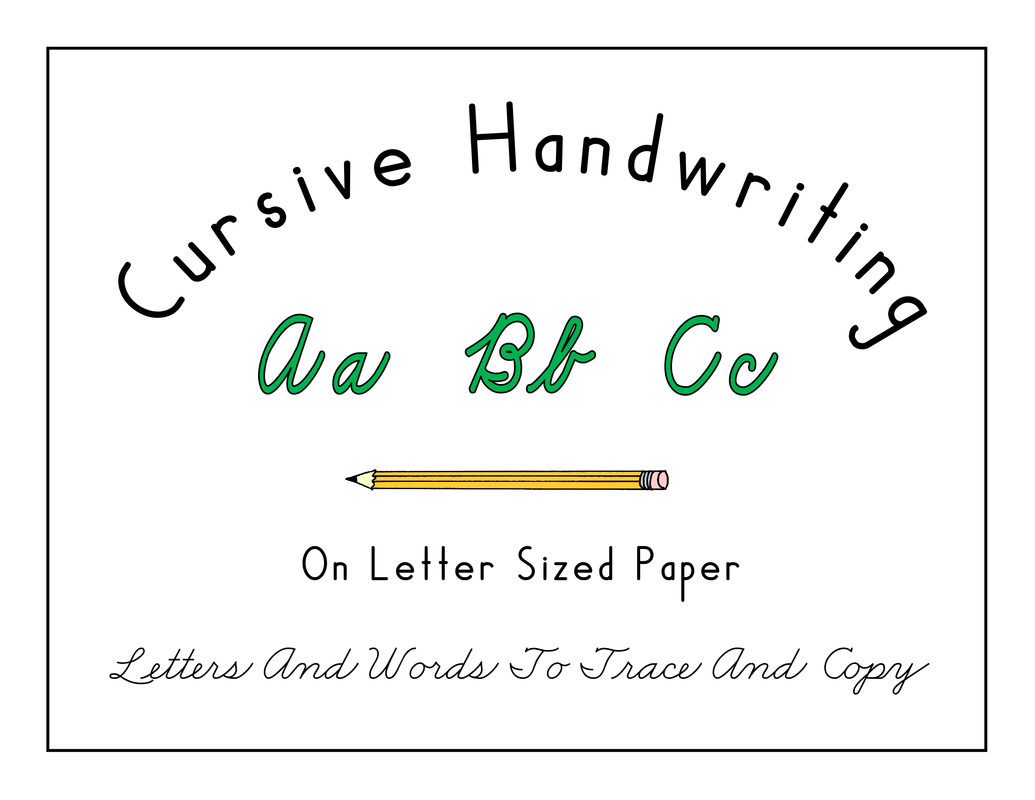
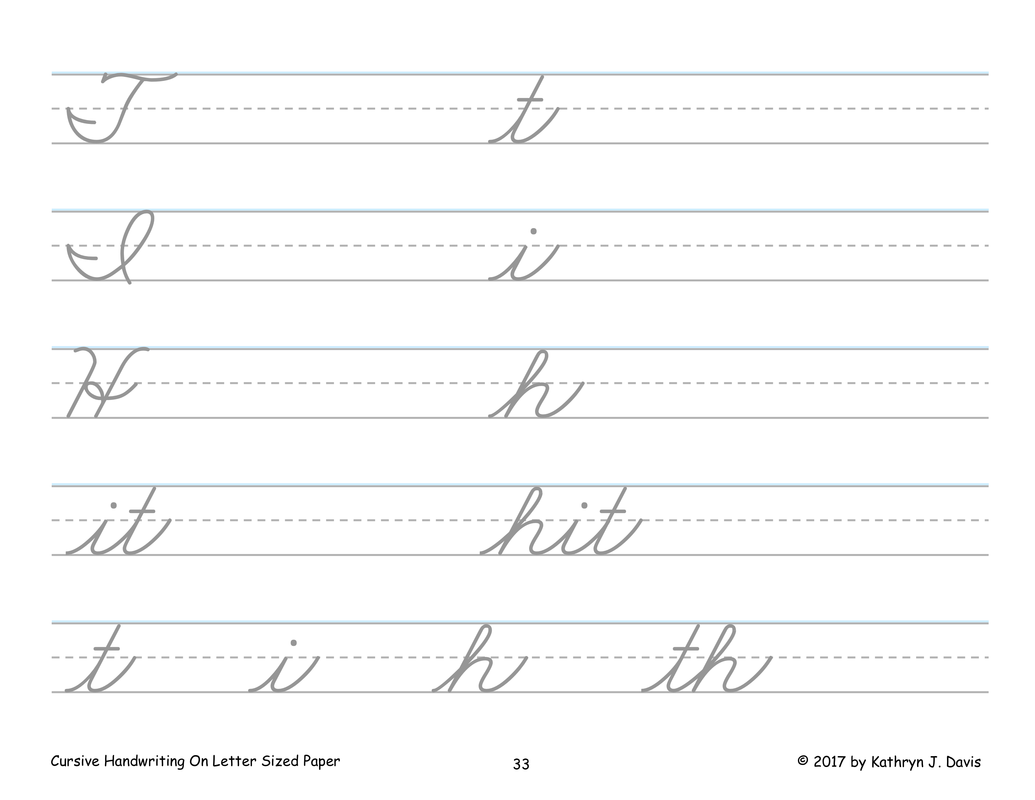
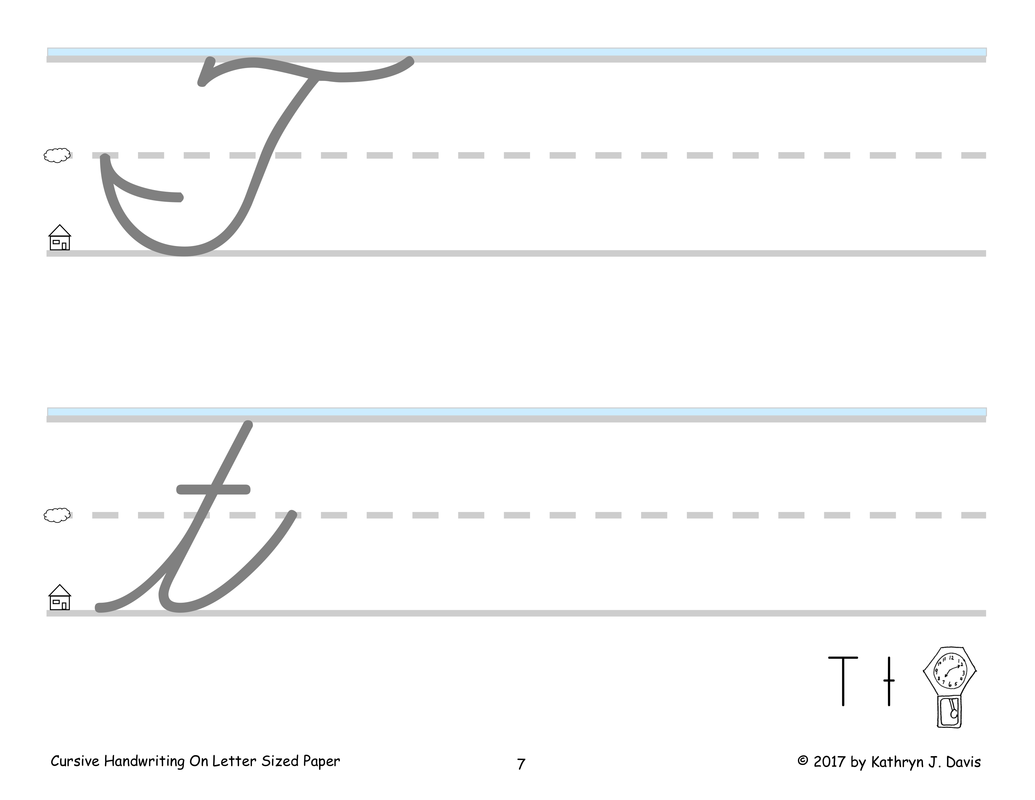
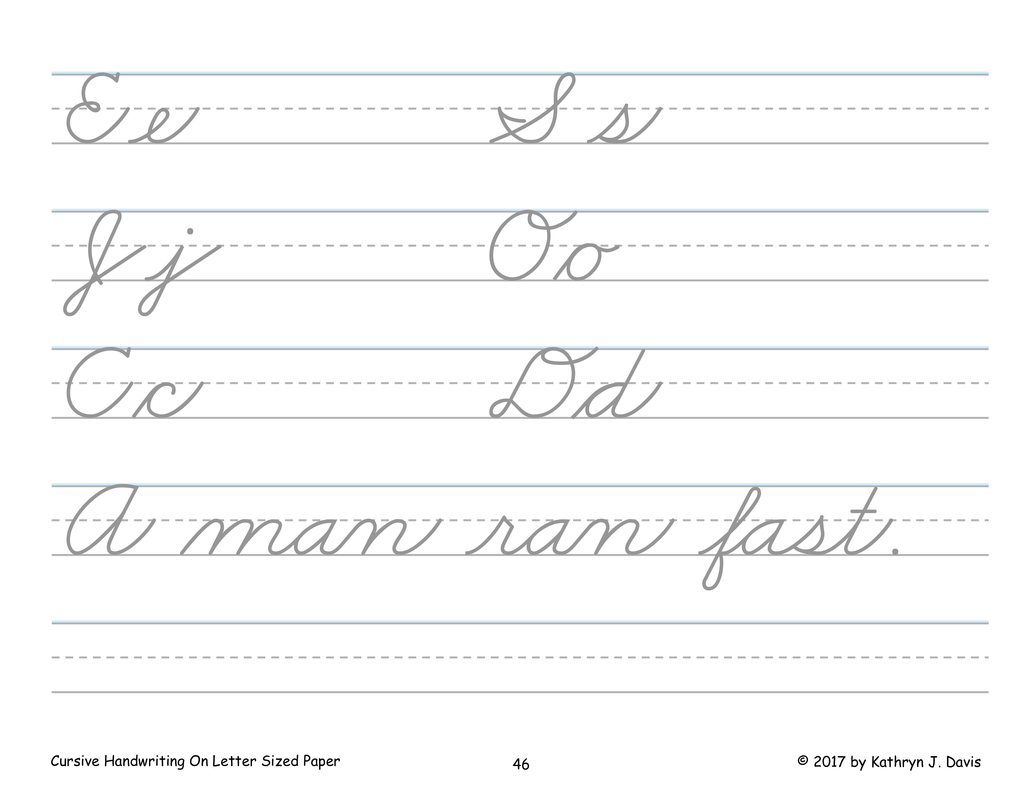
Today I put together a cursive handwriting book that is printed on letter sized paper. You can find it on the page with PDF files for books and workbooks.
|



 RSS Feed
