Sound city Reading Blog |
I've been working for almost a year now with the Camtasia program to learn how to make screencasts for some of the Sound City Reading books. I have had good luck with a number of test recordings, but there were always a few glitches that I didn't know how to correct. Over the past two days I've studied my previous notes, a number of Camtasia video tutorials, and any information I could find online to try to answer the questions I still had. Victory! I can now put together a high resolution screen recording that I can share online through Vimeo.
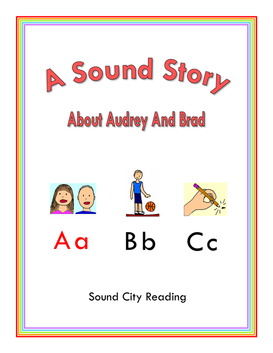
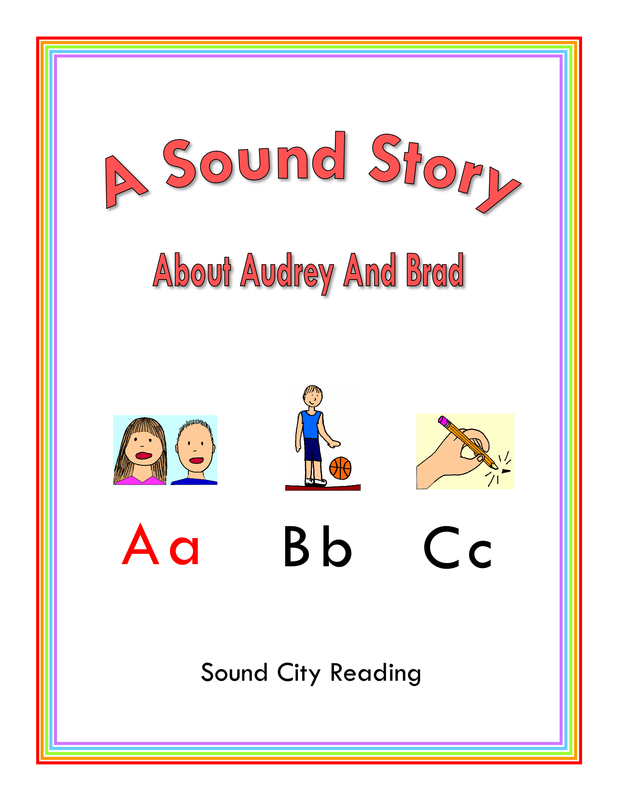
Unfortunately, my vocal cords are not cooperating! I have recorded the first pages from A Sound Story About Audrey And Brad, and my voice quality is terrible. : ( Nevertheless, with apologies, I'm posting the videos. At least parents and teachers can watch them and get an idea about how to pronounce the alphabet sounds and present the material. Perhaps, at some point I can re-record the videos. If you're not familiar with this sound story, it introduces speech sounds in a story. Each speech sound is represented by a sound that occurs in the story. Every sound is represented by a picture that could occur in real life. As far as possible, the pictures are intuitively clear. For example, some of the sounds include a growling dog, snow crunching under boots, blowing wind, and chains squeaking on a swing set. Sounds made by people's voices are included: exclamations of surprise (oh!), pain (ow), and satisfaction (mmm). Students can have difficulty learning the alphabet letters and their sounds because they are purely symbolic. There is nothing about the letter T that indicates what the sound for the letter might be. However, if students are shown a picture of a ticking clock, the /t/ sounds seems reasonable and students are able to make a clear connection between the picture and the sound. The goal of the sound story is for students to easily learn the sound for each picture, and then relate that sound to the capital and lower case letters that represent that sound. To me, it can be very confusing for students to learn the alphabet letters because they are truly complicated. There are capital and lower case forms for each letter. Some of these look the same, and some look entirely different. Yes they have the same names and sounds. For some letters, such as b and d, the sounds are fairly obvious because they are pronounced as part of the letter name. Other letters are completely disorienting. The letter H (aich) represents a sound that is totally different from its name. This is why, in the sound story, students start with the sound picture, and then relate it to the alphabet letter that represents that sound. On top of that, letters printed in various fonts can look quite different from the letters that students learn to print. So I've included two sets of letters with every picture. The first pair of letters is printed in a "san serif" font, without serifs. The second set of letters is printed in a font with serifs, which are the small pointed lines that stick out from the basic letters. I'm hopeful that explaining both types of letters from the very beginning will help students be less baffled but the whole process. I spent some time a few months ago studying about the development of phonetic languages, just looking for information online. I found it interesting that the Phoenicians, who adapted a few of the many Egyptian hieroglyphic symbols to create their alphabet, chose letters that were really very simplified pictures from their everyday life. Once you learned what object each picture represented, it was easy to remember the sound - it was just the first sound in the word. Teachers commonly use "key words" to teach alphabet letters, as in a/apple, b/ball, and c/cat. But the Phoenicians made it even easier because their letters were actually simplified pictures of the key word, making it easier for Phoenician children to learn the alphabet than children who are learning the English alphabet in modern times. I used key words to teach the alphabet for years. Then I began teaching my five year old niece. I had the alphabet cards on the walls in my living room that I had used for years in my classroom. But b/ball didn't mean anything to her because she couldn't hear the /b/ sound at the beginning of ball as a separate sound unit. She just heard the whole word "ball." I wrote the sound story that I now use for her, writing a new section and drawing a new picture before she arrived for each lesson. This approach changed everything for her. She easily learned to recognize the alphabet letters and to remember their sounds after she had learned the sound pictures first. I later went back to the classroom and used the sound story with groups of first graders for years, with good results. I've been doing a lot of thinking about the Learning The Alphabet and Exploring Sounds In Words books. I've decided to leave the Learning The Alphabet book as it is. It will continue to have all the different types of pages needed to complete the level, including oral blending, rhyming, handwriting, and sound story pages. For beginning students and teachers, it would be too hard jumping from one book to another. And I realized it would be too hard for me to explain it. On the other hand, for the Exploring Sounds In Words level, I'm going to keep the idea of using separate books for certain of the skill pages. I'm working on revising the directions at this level and I think I will be able to make the use of the various books clear.
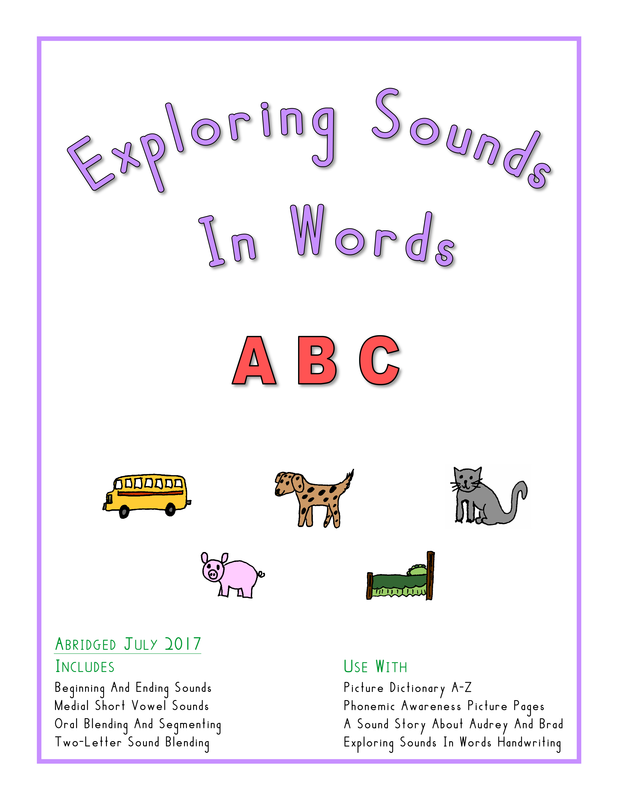
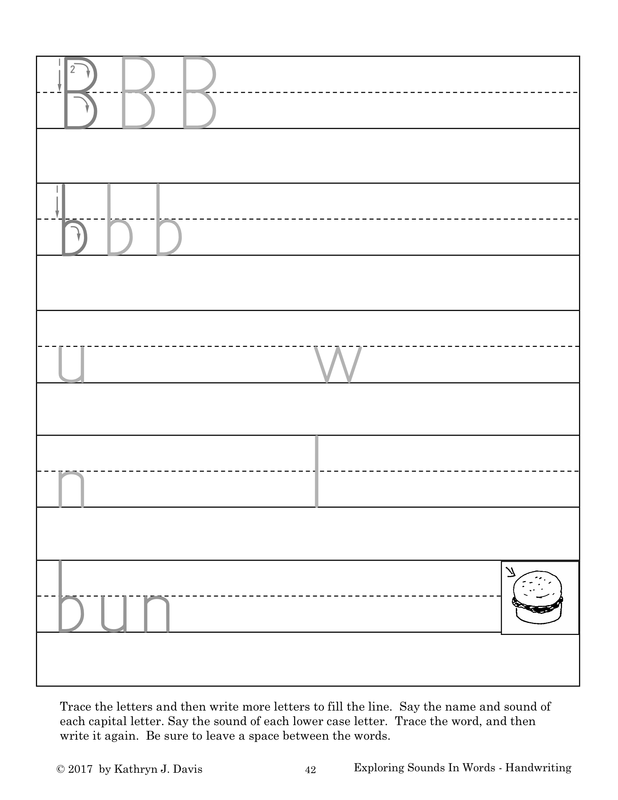
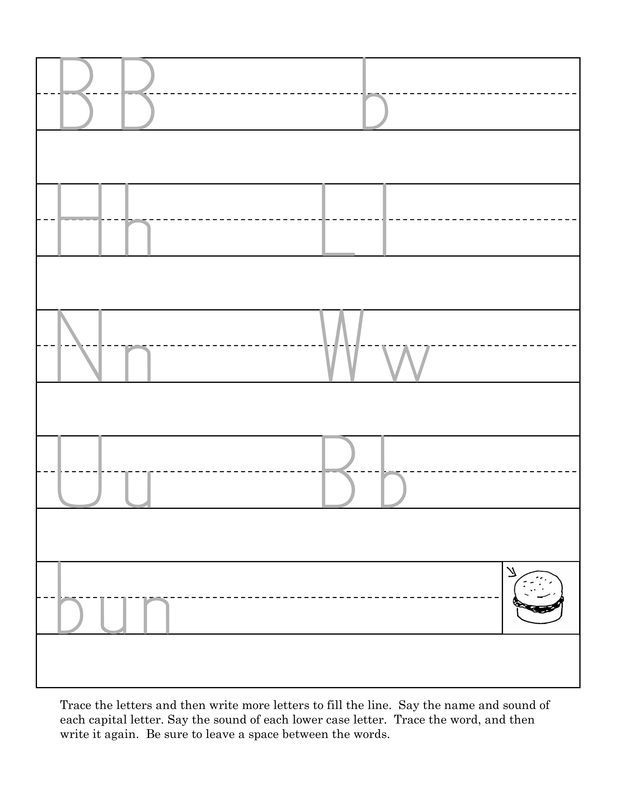
I've added a revised Exploring Sounds In Words Handwriting book to replace the previous file. This version is almost the same. I added more review letters to the pages with smaller letters. This is similar to the handwriting format I used at home with my grandson when he was in kindergarten. The handwriting review pages worked very well for him. On the revised pages, students trace and copy six review letters per page, both capital and lower case.
I learn as much from my failures as I do from my successes. This past weekend I saw my son at a family reunion. He has used the Sound City Reading materials with his elementary aged children. He said that the color-coded words in the Phonetic Words And Stories Books have been frustrating. His children want to know why the letters are in different colors, and he didn't know how to explain it to them. It sounded like they had just skipped the colored words and worked with the stories printed in all black print and the all black print pages in the workbooks.
This type of feedback is always very valuable to me. The original Sound City Reading books had all black print. Although the colored print has been most helpful to many of the students I have taught, a few students have definitely preferred the all black print when reading the stories. When I got home I sat down and revised a few picture/word pages from Book 1, using all black print and the Century Schoolbook font. It looks good. The picture/word format will still work well to help students learn to read new words, regardless of whether the print is in color or is all black. I'm planning to use the black print format to make a complete set of the Phonetic Words And Stories books. It will take me some time, but hopefully not too long. I'm excited about this, not just because some teachers, parents, and students may prefer them, but because the books will be less expensive to print since they are not in color. More people will be able to afford them. I'll continue to make the color versions available, because I do think many students benefit from the color coding. And I will definitely try to make my instructions about the colored print more clear for those who are using them. I am left handed. I have read several well respected books that include handwriting instruction. Some books insist that left handed students tilt their paper to the right, just the opposite of students who are right handed. I disagree with this advice. Although it seems to make sense to do so, since students are writing with the opposite hand, the logic does not hold up. That is because lefties still write from left to right. If left handed students wrote from right to left (basically, forming all of their letter backwards), then tilting the paper in the opposite direction works. I've tried it. If you force left handed students to write with their papers tilted to the right, one of two things will happen. First, they might write with a backhand. The letters will slant backwards. Second, they might pull their right shoulder back, pull their left elbow forward, and curve their wrist so that they can write with the letters in the correct letter position. The second option is what I did throughout early elementary school. It was uncomfortable for a short period and painful for longer periods to write this way. The secret is for both right and left handed students to tilt their papers slightly to the left. Right handers will have their hand, wrist, and forearm in a line parallel to the side edge of the paper. For left handers, their hand, wrist, and forearm will not line up with the edge of the paper. Instead, the left hand and left edge of the paper will form a tepee shape.
This way left handed students can write comfortably.
|


 RSS Feed
